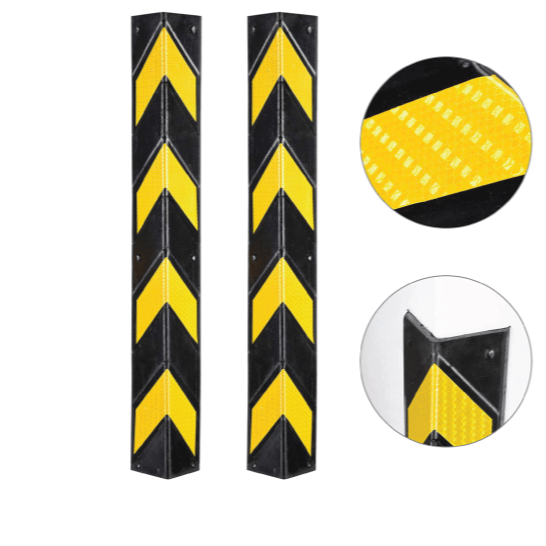
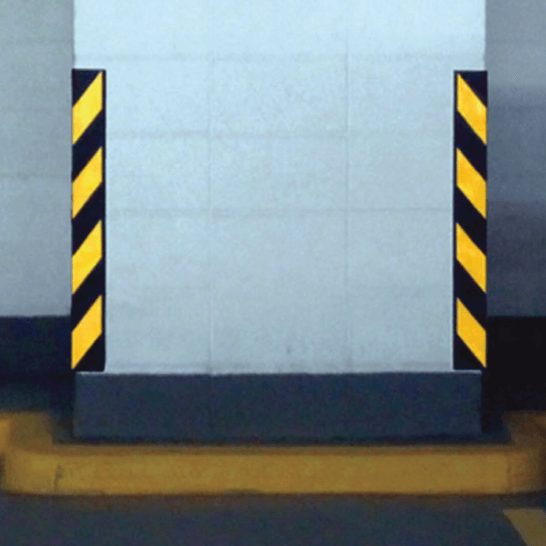
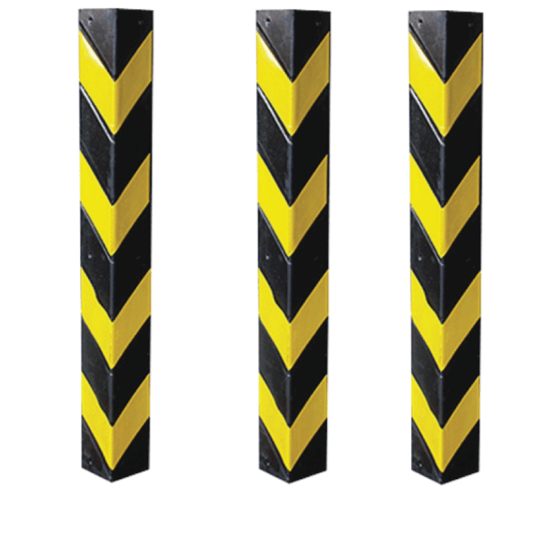
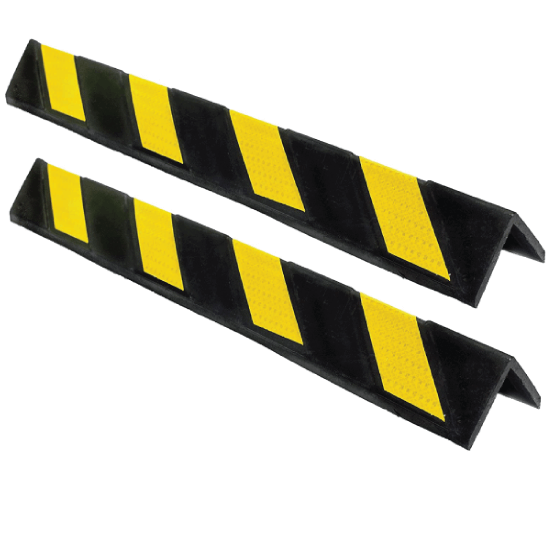
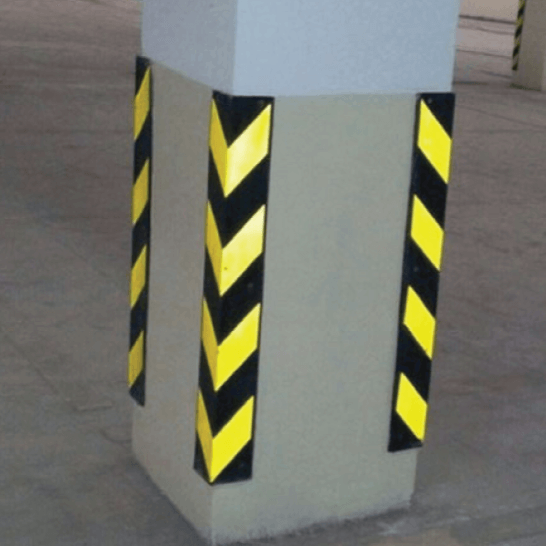
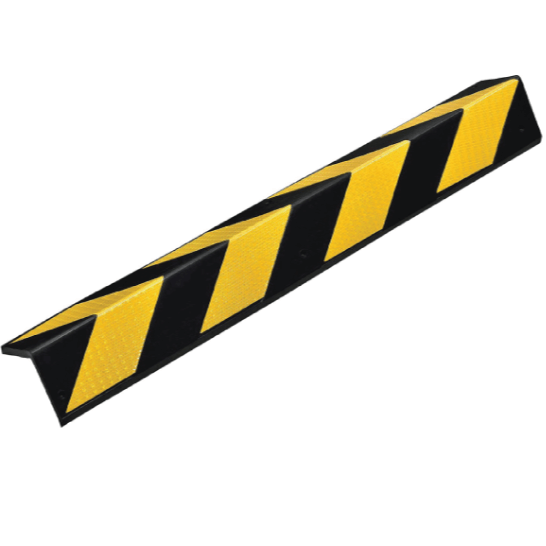
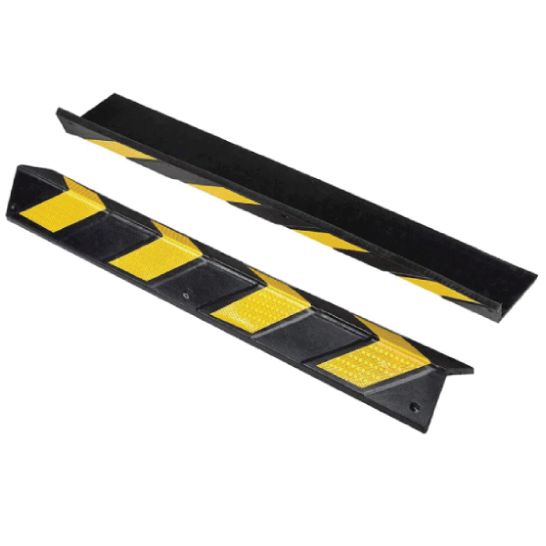
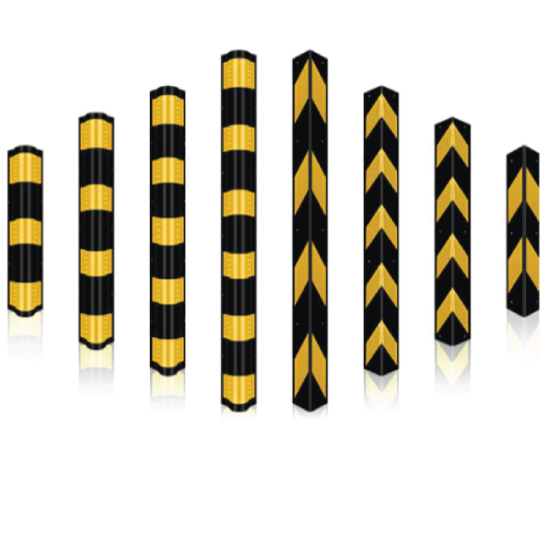
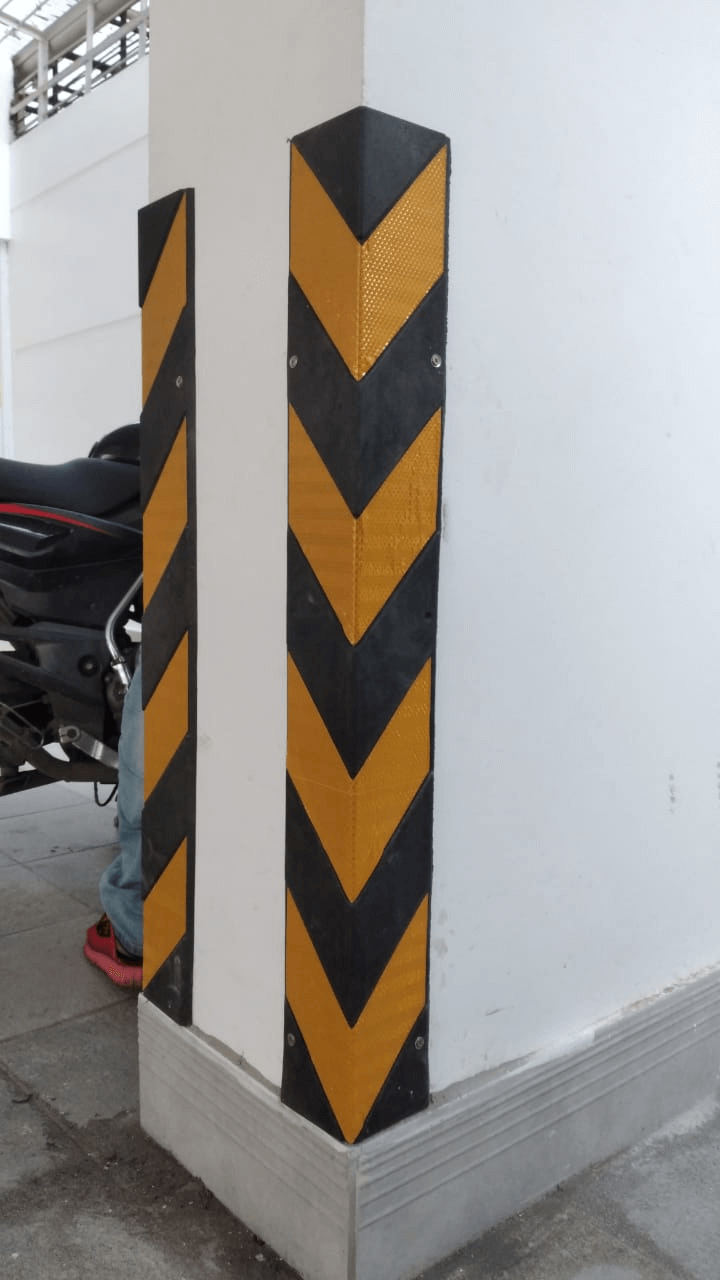
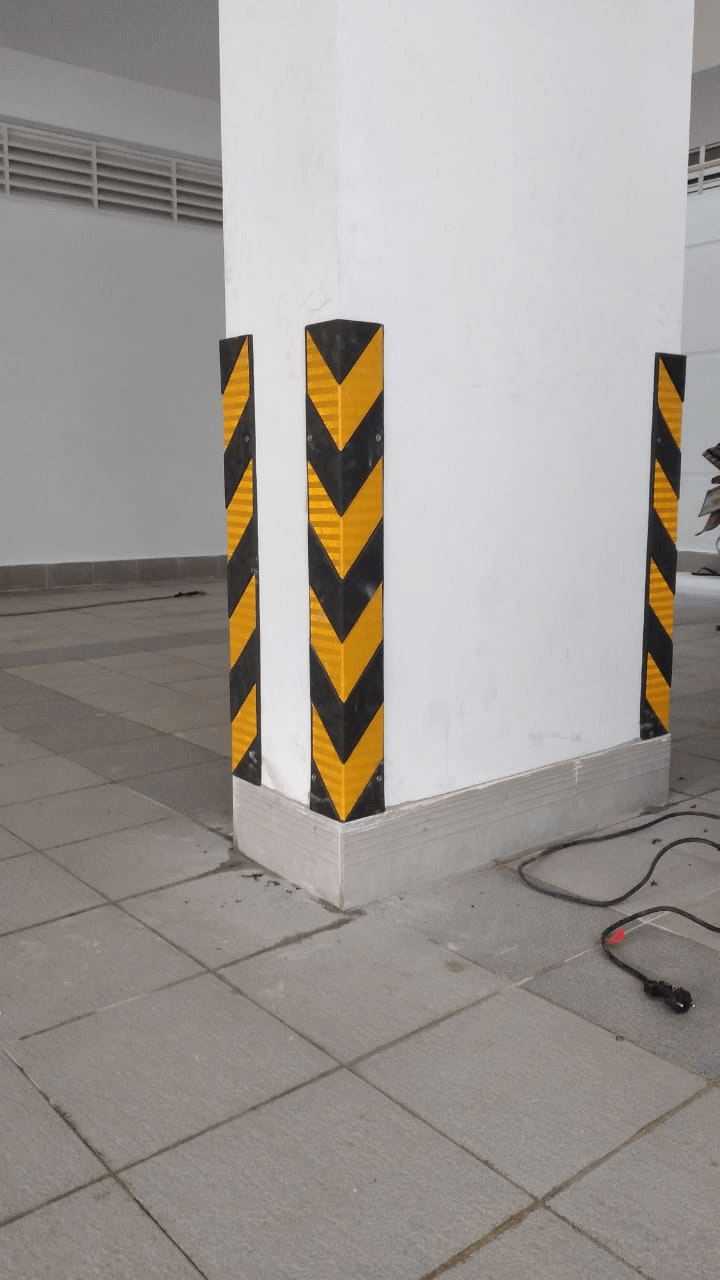
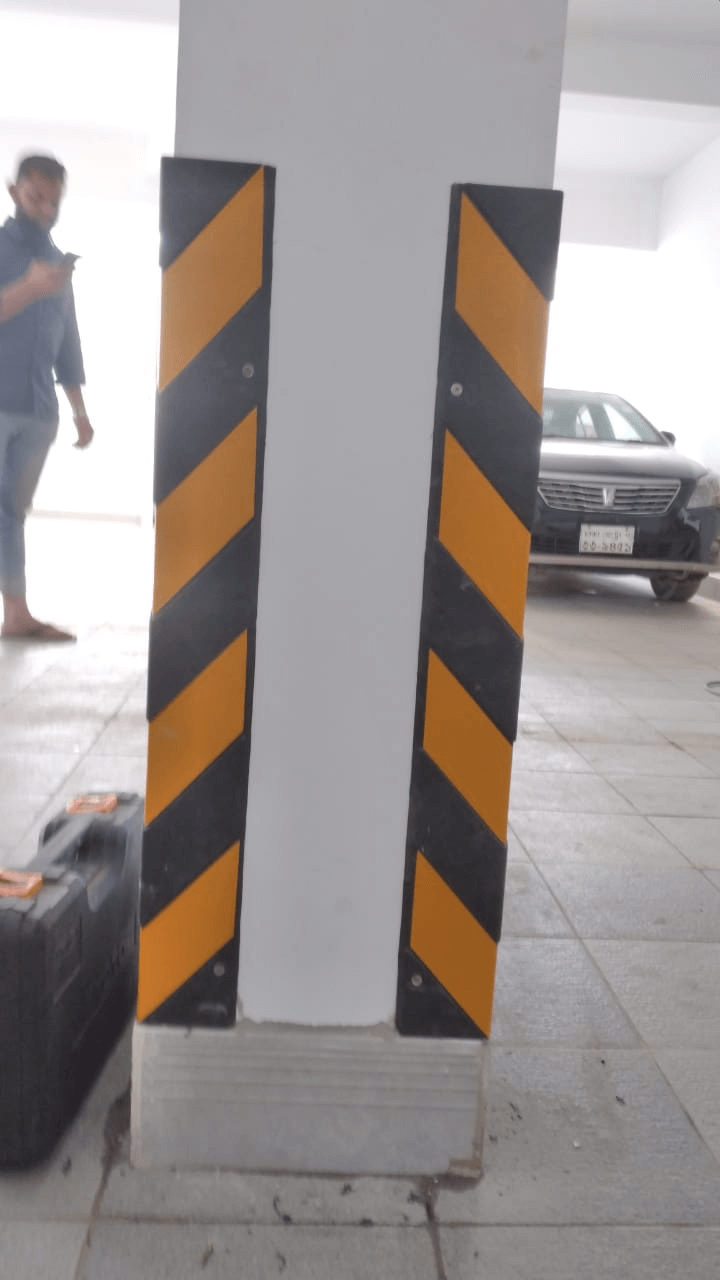
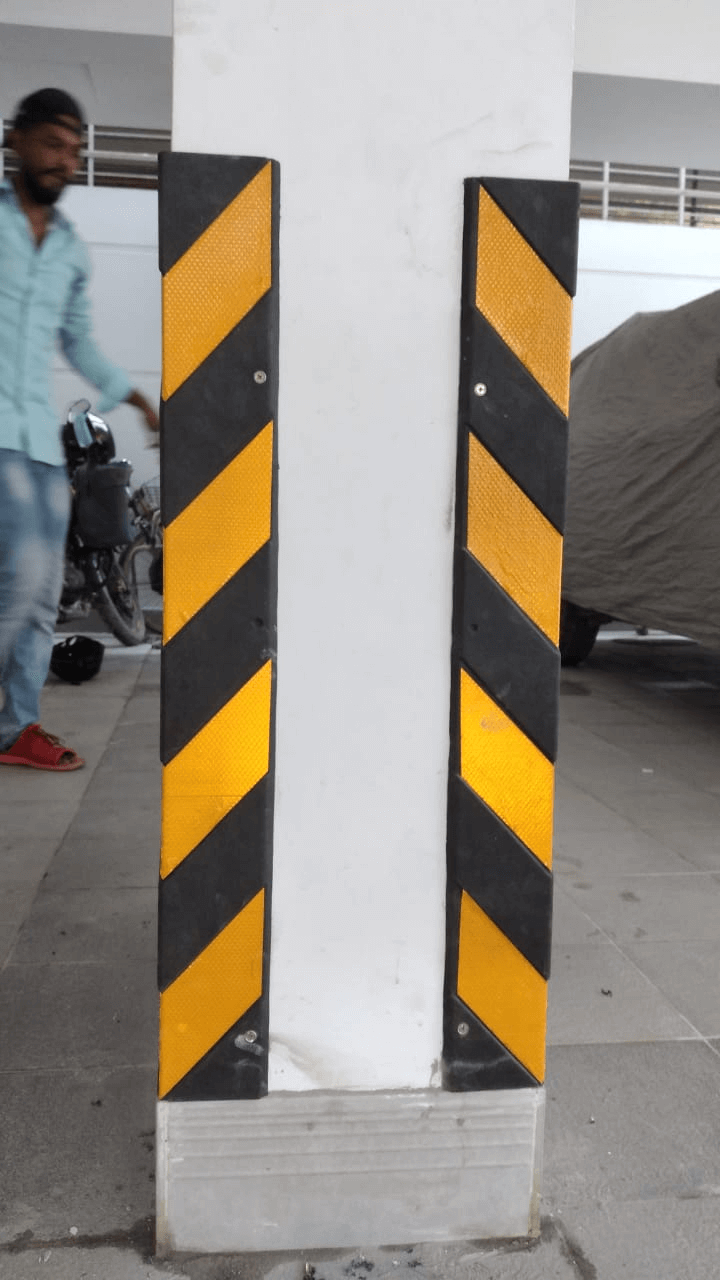
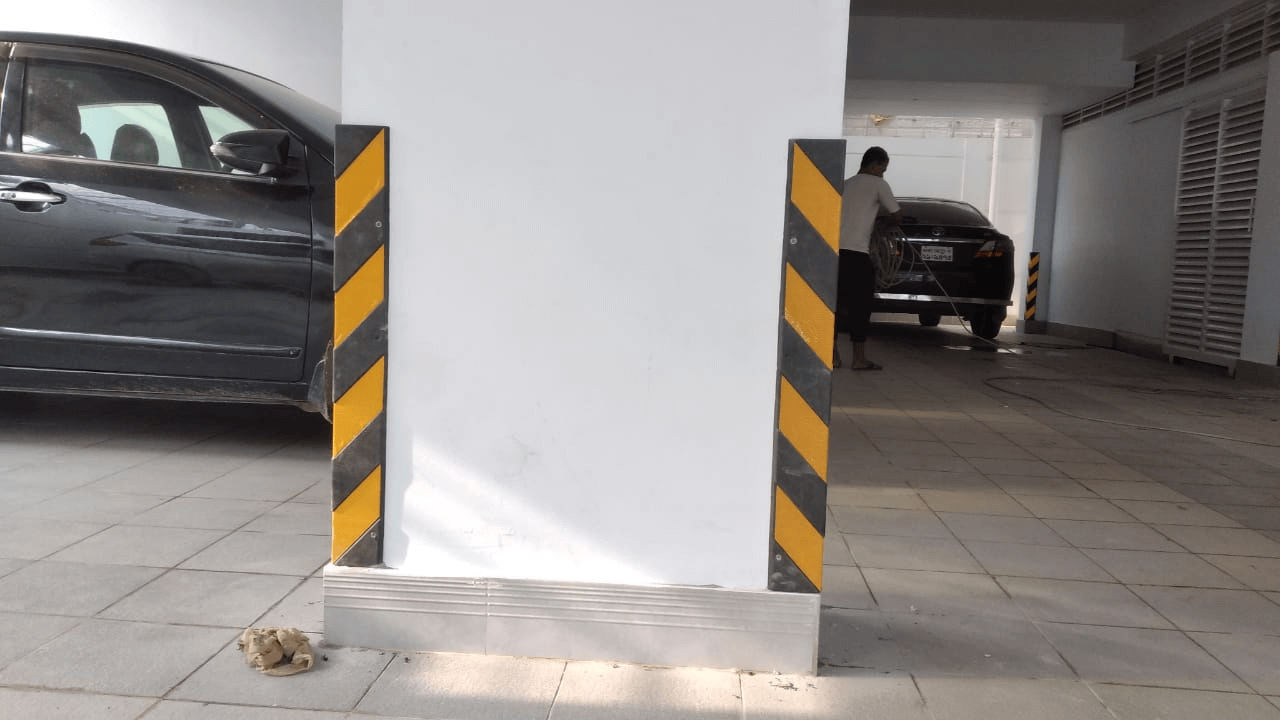
Elastic wall corner guard is known to safeguard the edge of the building's column structures and the vehicle from impact damages, rubbing, scratching, and brushing of vehicles and other equipment. This is a very useful product to use in hotels, hospitals, shopping malls, garages, markets, schools, stadiums, commercial offices, storehouses, parking lots. If you are facing problems with impact damages of vehicles, you can use this product. A rubber wall corner protector is constructed to guard columns and corners from impact damages.
Our Clients

H#199 (1st Floor), R#01, New DOHS Mohakhali, Dhaka-1206, Bangladesh
Product Spotlight
The Rubber Wall Corner Protector is a durable and flexible safety solution designed to prevent impact damage on walls and columns. Made from high-quality virgin rubber with reflective black and yellow stripes, it ensures high visibility and protection. Ideal for parking lots, garages, hospitals, and commercial spaces, it offers long-lasting indoor and outdoor performance.
Quality Material
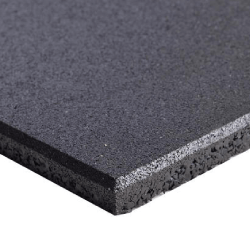
Rubber wall corner protector is made of high-quality virgin rubber, Polyethylene, and Neoprene. These material makes the corner guard flexible and durable. Polyethylene saves the column corner guard from environmental damages. The Black & Yellow colored stripes are used in the Rubber wall edge guard to make it visible. Black & Yellow colored stripes help the drivers to park vehicles in the right place. It functions as indicators.
Safety
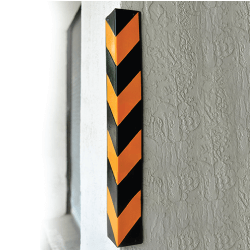
Rubber wall edge guard protects walls from damages. This product saves both the car and walls from hit, damages, or kickbacks. You can use rubber column corner guard to protect vehicles, equipment’s, machineries, and walls from impact damage. PVC wall corner guard ensures a high level of protection at hotels, hospitals, shopping malls, garage, market, schools, or parking lots. Rubber corner guards are thick enough to efficiently absorb hit and defend both car doors and garage walls from bumps and scrapes.
Measurement
There are two types of Rubber pillar corner guards. These are - Square Rubber pillar corner guard and rounded Rubber wall corner guard. The measurement of The Square rubber wall angle guard is 31″ (L) x 4″(W) x 0.3″ (Thickness), and Weight is 4 lbs. The measurement of rounded wall corner guard is 31″ (L) x 4.7″(W) x 0.8″ (Thickness), Weight is 5.5 lbs. You can attach multiple pieces to extend the heights of rubber wall edge guards.
High level of Flexibility
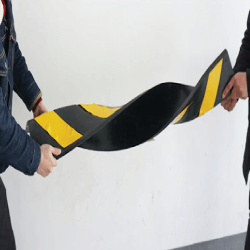
Flexible corner protectors provide a unique combination of strength and flexibility. Because, rubber wall edge guard is made of high-impact virgin rubber. For this reason, wall corner guard protector is bendable and can be installed in narrow corners and spaces. You can install these edge protectors with irregular corner shape. Inflexible guards may not offer you this prospect. Flexibility helps edge guards to imbibe the hits and kickbacks easily and efficiently.
Budget-Friendly

If you are finding cost-effective guards for your walls and columns, A column corner guard is the best option for you. Because it is a budget-friendly and longer service product. A neoprene column corner guard will protect the edges of walls and columns from rubbing, scratching, and brushing of vehicles. If any person or organization want cost-effective plan for a wall protection, they can buy a rubber wall edge guard.
Reflective

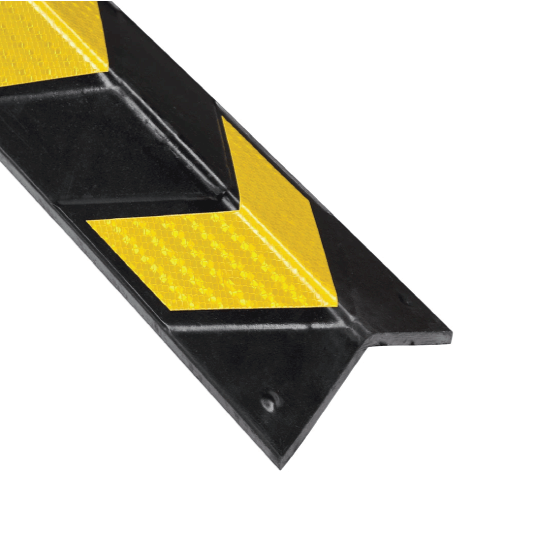
The reflectiveness of the wall corner protector is another exciting feature. This reflectiveness helps drivers and employees to place vehicles, and other equipment at the right place. Black-yellow reflective tape makes it visible. Especially, at night, the Rubber wall corner shield reflects when it comes to light. It also makes a very good decoration on columns or walls. Beside vehicles, people can be benefited when they operate equipment-trolleys.
Durability

PVC wall corner guard is manufactured by natural higher intensity rubber. These quality materials made rubber wall corner protector durable. Moreover, it is temper resistant and weather resilient. Rubber wall corner protectors can adopt inside and outside environments. Because its polyethylene protects from wet-weather damage. So, you can wash rubber corner protector without any fear.
Area of Use
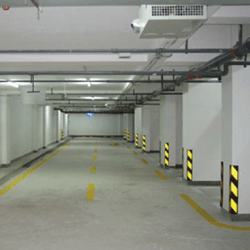
Rubber wall edge guard is used in hotels, hospitals, shopping malls, garages, markets, schools, stadiums, commercial offices, storehouses, parking lots. It is used to protect impact damages, kickbacks, hits, or any other damagers by vehicle, equipment, machinery, and walls. Basically, Rubber wall corner guards shield edge of wall and pillars from impact damages. So, anyone can use it at home or basement.
Product Features & Benefits
- High-Quality Virgin Rubber Material
- High Impact Protection
- Dual Color Visibility (Black & Yellow)
- Reflective Chevron Design
- Flexible & Bendable Body
- Weatherproof & Temperature Resistant
- Indoor & Outdoor Standard
- Easy Installation System
- Long Service Life
- Cost-Effective Safety Solution
Product Specification
Height | 31.5 inch / 800 mm / 80 cm |
Width | 3.22 inch / 82 mm / 8.2 cm |
Thickness | 0.31 inch / 8 mm / 0.8 cm |
Material | Synthetic Rubber Body |
Color | Black with Yellow Strip |
Design | Chevron Reflective Type |
Feature | High Impact Resistant |
Durability | Flexible & Weatherproof |
Installation | Screw or Adhesive Mount |
Use | Wall & Column Protection |
Origin | China |
Related Products
 Anti Slip Car Stopper Wheel Chock Block(10)
 Parking Security Convex Curved Mirror(28)
 Folding Arm Car Parking Barrier Gate(2)
 Multichannel Rubber Cable Protector Speed Breaker(1)
 One Way Parking Lot Spike Strip Tyre Killer(1)
 Parking Ticket Management System(1)
 Remote Controlled Push Switch Fence Arm Barrier(1)
 Rubber Speed Breaker(25)
 Automatic Car Parking Barrier Gate System(9)
 Under Vehicle Car Search Mirror with Flashlight(6)
 Dual Side Ref Car Parking Wheel Stopper(39)
 Remote Control Electric Swing Gate Opener(3)
 Fire Rated Rolling Shutter(2)
 Hydraulic Crash Rated Telescopic Rising Bollard(1)
 Full Height Turnstile Gate Barrier(1)
 Queue Up Stand Retractable Belt Barrier Post Price In Bangladesh(48)
Frequently asked questions and Answers
Imagine you are parking a car in a parking lot. Suddenly you hit a column edge and the column has been structed. It could damage corner of the pillar. Bu if you install a corner guard protector on column edge, it will guard corners of columns. Rubber wall corner guard functions with its elasticity and flexibility. At the same time, it guards vehicles against damages. It works very simply and takes no other complexity to install on corners and columns.
There are different types of rubber wall guards based on their shape. One is the Square Rubber wall corner guard. Another is a rounded Rubber wall edge guard. The functions of both rubber wall guards are the same. But, they will be used based on the shape of your edge or columns. You can use any type of Rubber guard required to your edge and column shape.
If you want a long-term durability corner protector, rubber column corner guard is the best one. High insensible rubber material makes it sustainable for years. You can use it in an open parking lot as well as inside home. Because wall edge guard protectors are temper resistant and weather resilient. Polyethylene protection increased its durability as it saves corner guards from water damages.
High, medium, and lower traffic parking lots face a huge vehicle movement. Sometimes, parking owner face impact damages on corner of wall and column. Corners of wall and column become damaged, scraped, rubbed. Basically, A rubber wall corner protector is applied to protect these impact damages. People use this product to save walls, columns from rubbing, scratching, scraping, and impact damages by vehicles. Paring lot, schools, garages, shopping mall can use this product. In a word, purpose of usig this product is to save corners. So, anyone who want to protect edges of wall and column.
You can install the Rubber column corner guards in two ways. You can use glue to set up your Rubber wall corner guard with walls’ or columns’ edge. If you are not able to use gum, you have another option to set up a wall corner guard. One can install this wall guard by drilling wells.
You can install the Rubber column corner guards in two ways. You can use glue to set up your Rubber wall corner guard with walls’ or columns’ edge. If you are not able to use gum, you have another option to set up a wall corner guard. One can install this wall guard by drilling wells.
Install by gum/ adhesive bead
Step-1: Clean the wall or column corner properly.
Step-2: Measure the of corner length to fit the rubber column corner guard.
Step-3: Cut the corner protector if you need to decrease the length of guards according to the column length. Similarly, adjoin multiple guards if you need to increase the length of protector according to the measurement.
Step-4: Now, dab the glue on the back of corner guards. If you use adhesive bead, make sure you apply it at the center of each arm of back.
Step-5: Align the corner guard's location on the wall, commencing with the bottom of the corner guard. Once aligned, carefully push the corner guard against the wall surface, working your way up.
Step-6: To achieve adequate adhesion, apply pressure to the corner guard.
Install by drilling
Step-1: Clean the wall or column corner properly.
Step-2: Measure the of corner length to fit the rubber column corner guard. Add or exclude corner guards based on your measurement.
Step-3: Place the corner guard against the wall in the precise spot where it will be installed.
Step-4: Lift the corner guard from the wall and pre-drill in the indicated spots with the correct drill bit size and type for your wall surface.
Step-5: When you finished the drilling, clean the dust from the surface of wall.
Step-6: Set the corner guard against the wall at the pre-marked point, then use a screwdriver or power drill to install the provided fasteners into the pre-drilled holes.
Rubber wall corner protector is a frequently used product. For this reason, it demands high-quality raw materials to endure. High-quality virgin rubber is the main material of this product. The elastic wall corner guard also needs polyethylene, neoprene, reflective color tapes. High-grade natural rubber makes the product flexible and durable. Rubber and polyethylene build a weather-proof product. These materials ensure the environmental adaptability of the wall corner protector. Black-yellow stripes are used in the Rubber wall corner guard to make it visible. Black-yellow stripes help drivers to park vehicles in the right place. It functions as an indicator. Yellow tapes are been reflected at night.
Rubber wall edge protector is the best option for protecting walls’ edge and column. This product has some exceptional features. Rubber column corner guards use excellent raw material to ensure safety. Natural rubbers are used to produce this column corner protector. So, the flexibility level is so high. Commercial institutions, as well as small entrepreneurs, can adopt this unique product. Because a neoprene wall corner guard is cost-effective. The reflectiveness of yellow tape is another exciting feature. It ensures protection at night. All features made the product sustainable. Finally, it has a wide range of use from vehicle garages to shopping malls. You can use this product at commercial parking lots as well as at your private garage.
The measurement of the rubber pillar corner guard may vary according to your requirement. The measurement of Square Rubber wall corner guard is 31″ (L) x 4″(W) x 0.3″ (Thickness), and Weight is 4 lbs. The measurement of rounded wall corner protector is 31″ (L) x 4.7″(W) x 0.8″ (Thickness), Weight is 5.5 lbs. You may find out other measurements. In this case, you should consider your need. You can join multiple pieces to extend the heights of rubber wall edge guards.
Rubber wall edge guards are not manufactured in Bangladesh. Different sale company import Rubber wall corner protectors from global market. Nobarun International is a reliable source for different Parking Equipment. They sell reflective column corner guards. They have square and rounded rubber wall corner guards. Courier delivery opportunity is available on Nobarun International.
We import all products from the international market. So, the price of products varies based on global price, tax, and VAT. To know the current price, please contact with our representative. They will inform you of the latest market price of this product. Please call our mobile number.
If you are in Dhaka, you can visit our office and see our products. You can buy your favorite product by cash directly. If you are outside of Dhaka city, you can buy our products through the courier by placing conditional payment. In this case, you have to pay 1000 Taka advance by bank account or bkash with your name and phone number. After the advance payment, we will send your chosen products through courier. You will receive products within 1-2 days. Customers have to bear all courier charges in this case.
If you come to our office, you can purchase products by cash payment. If you want courier delivery on conditional payment. You have to pay 1000 Taka advance by bank account or bkash. You have to pay the rest of the payment when you receive products.
It depends on your product size. Normally, there will be a 200 to 2000-taka charge based on product size.
Having stock or not and comparing to the world market, this products price can be up & down. But right now, the Wall Corner Guard Starting Cost is 950 Taka Price in Bangladesh. If you want to buy, the price can be up & down depending on the feature, specification, and other customization.
Product Reviews
Read all reviewsEngr. Kamrul
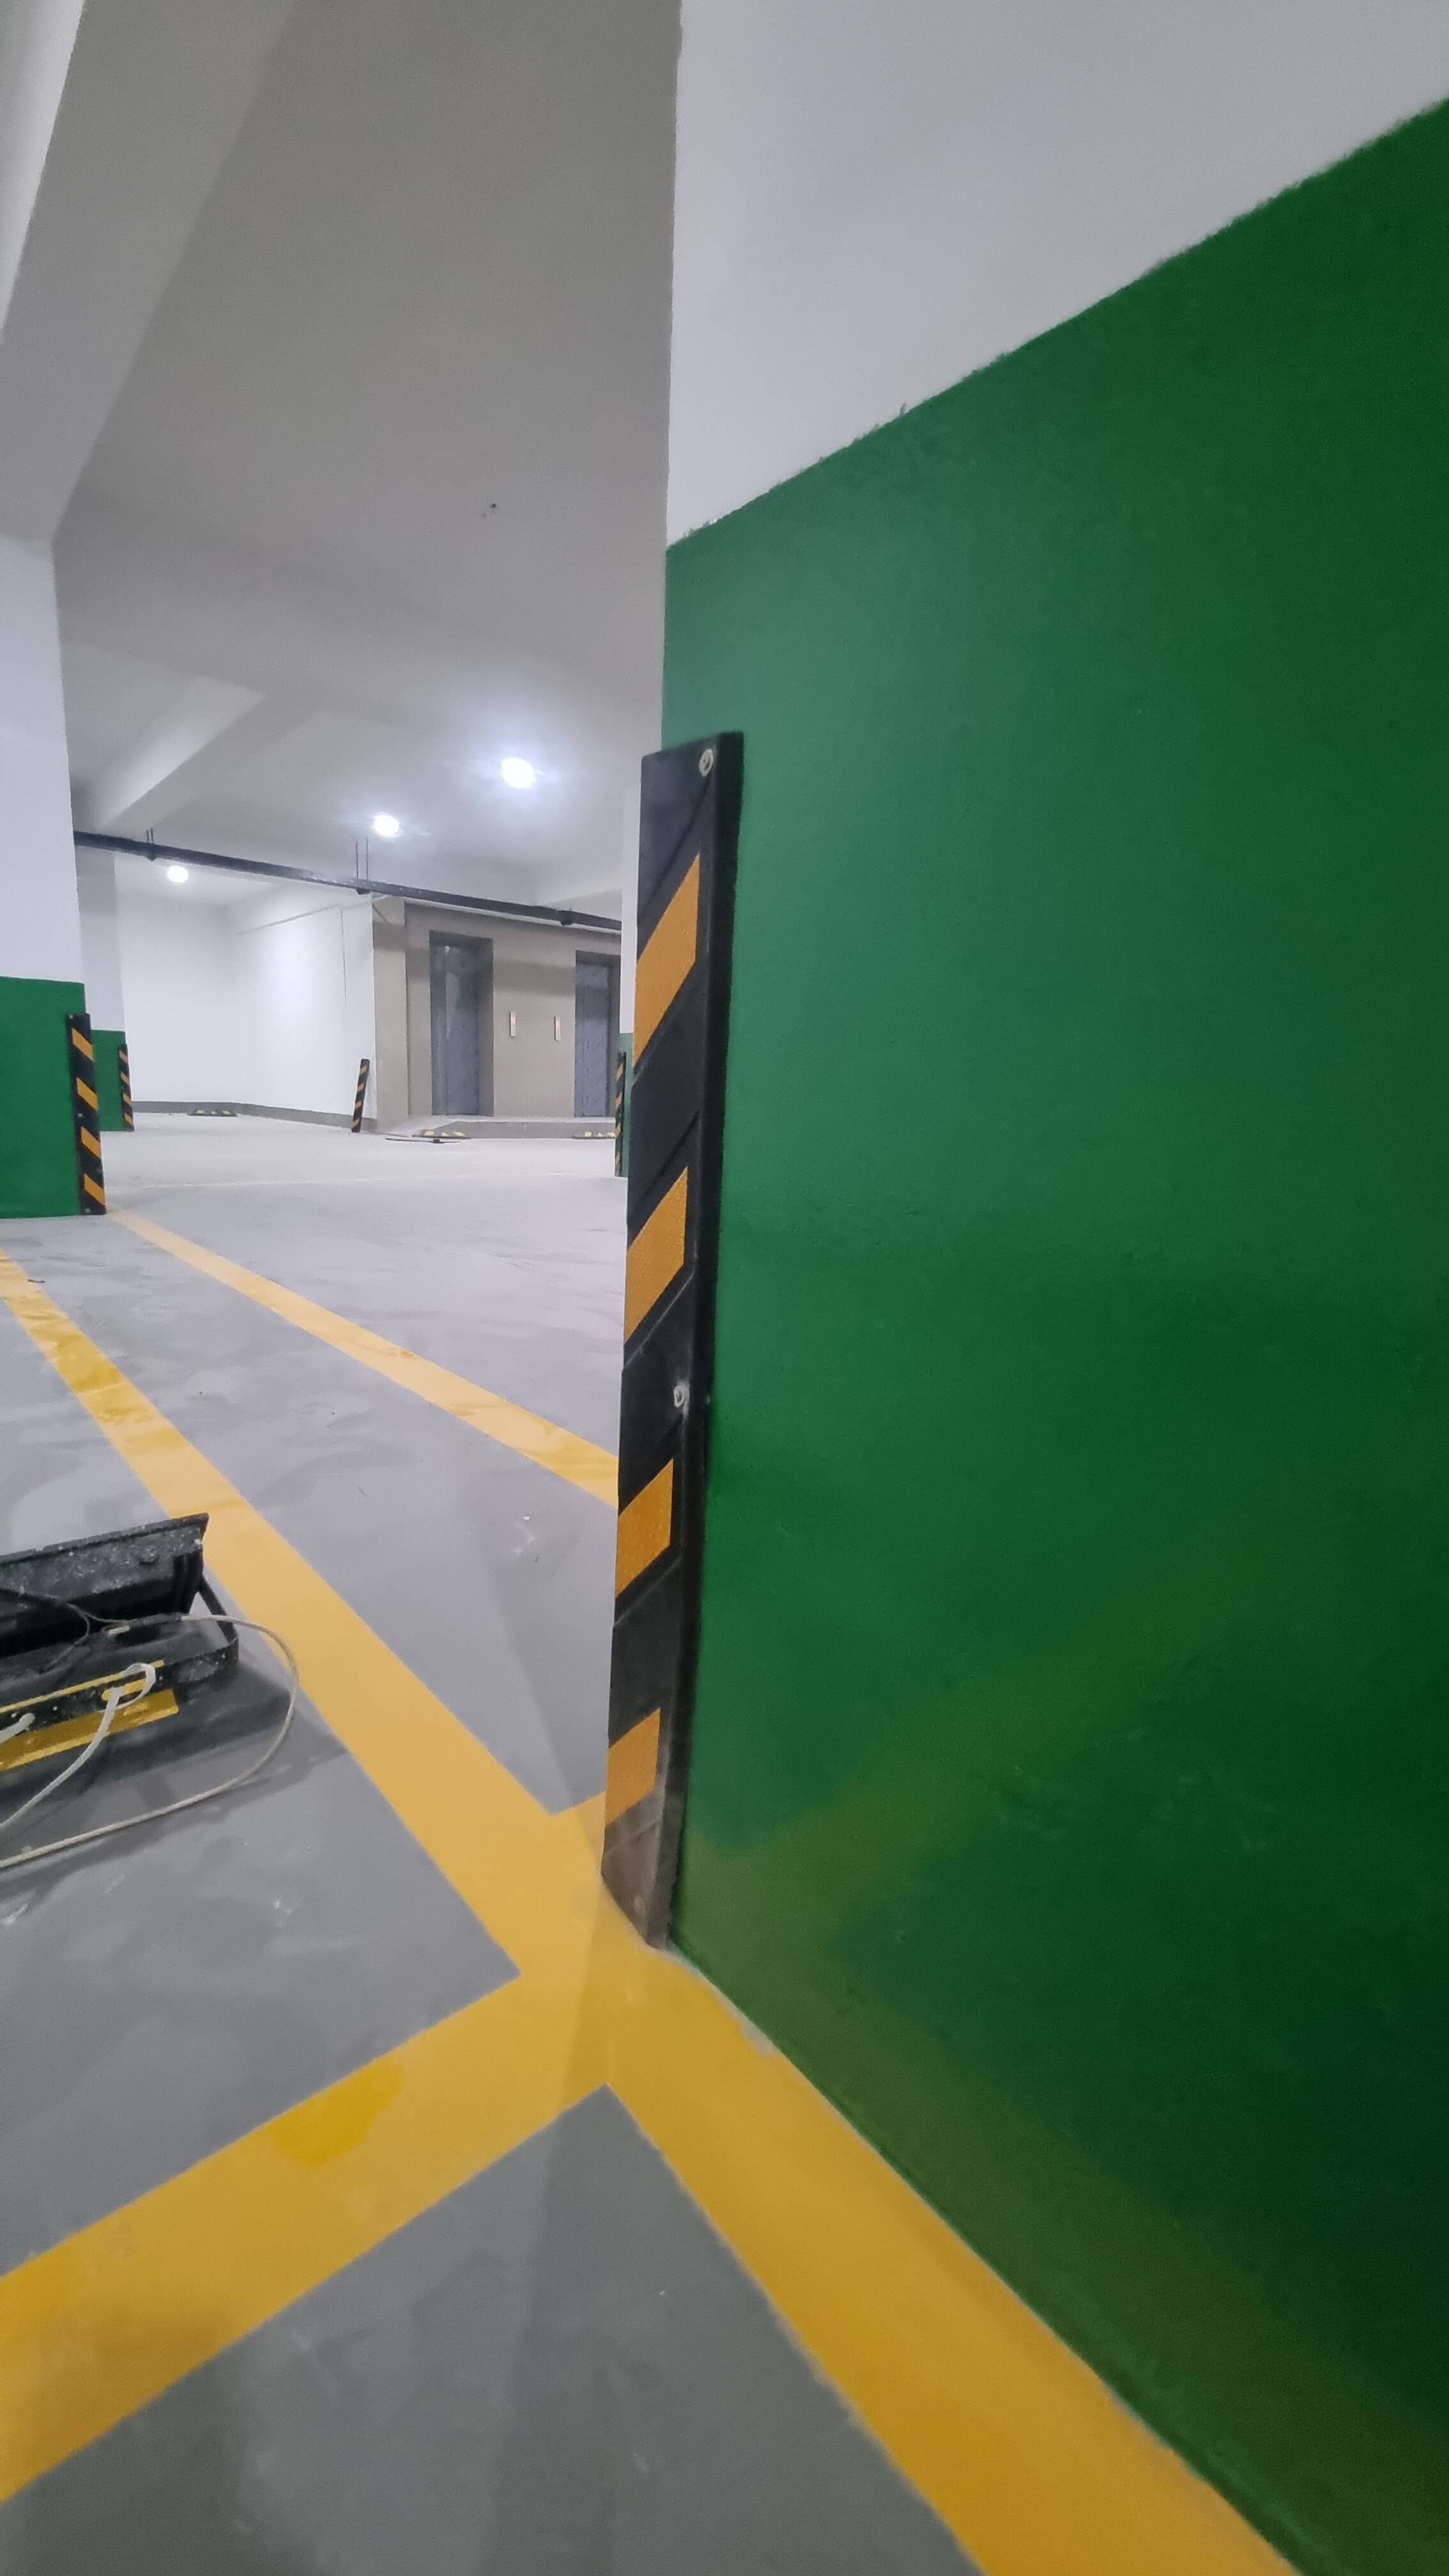
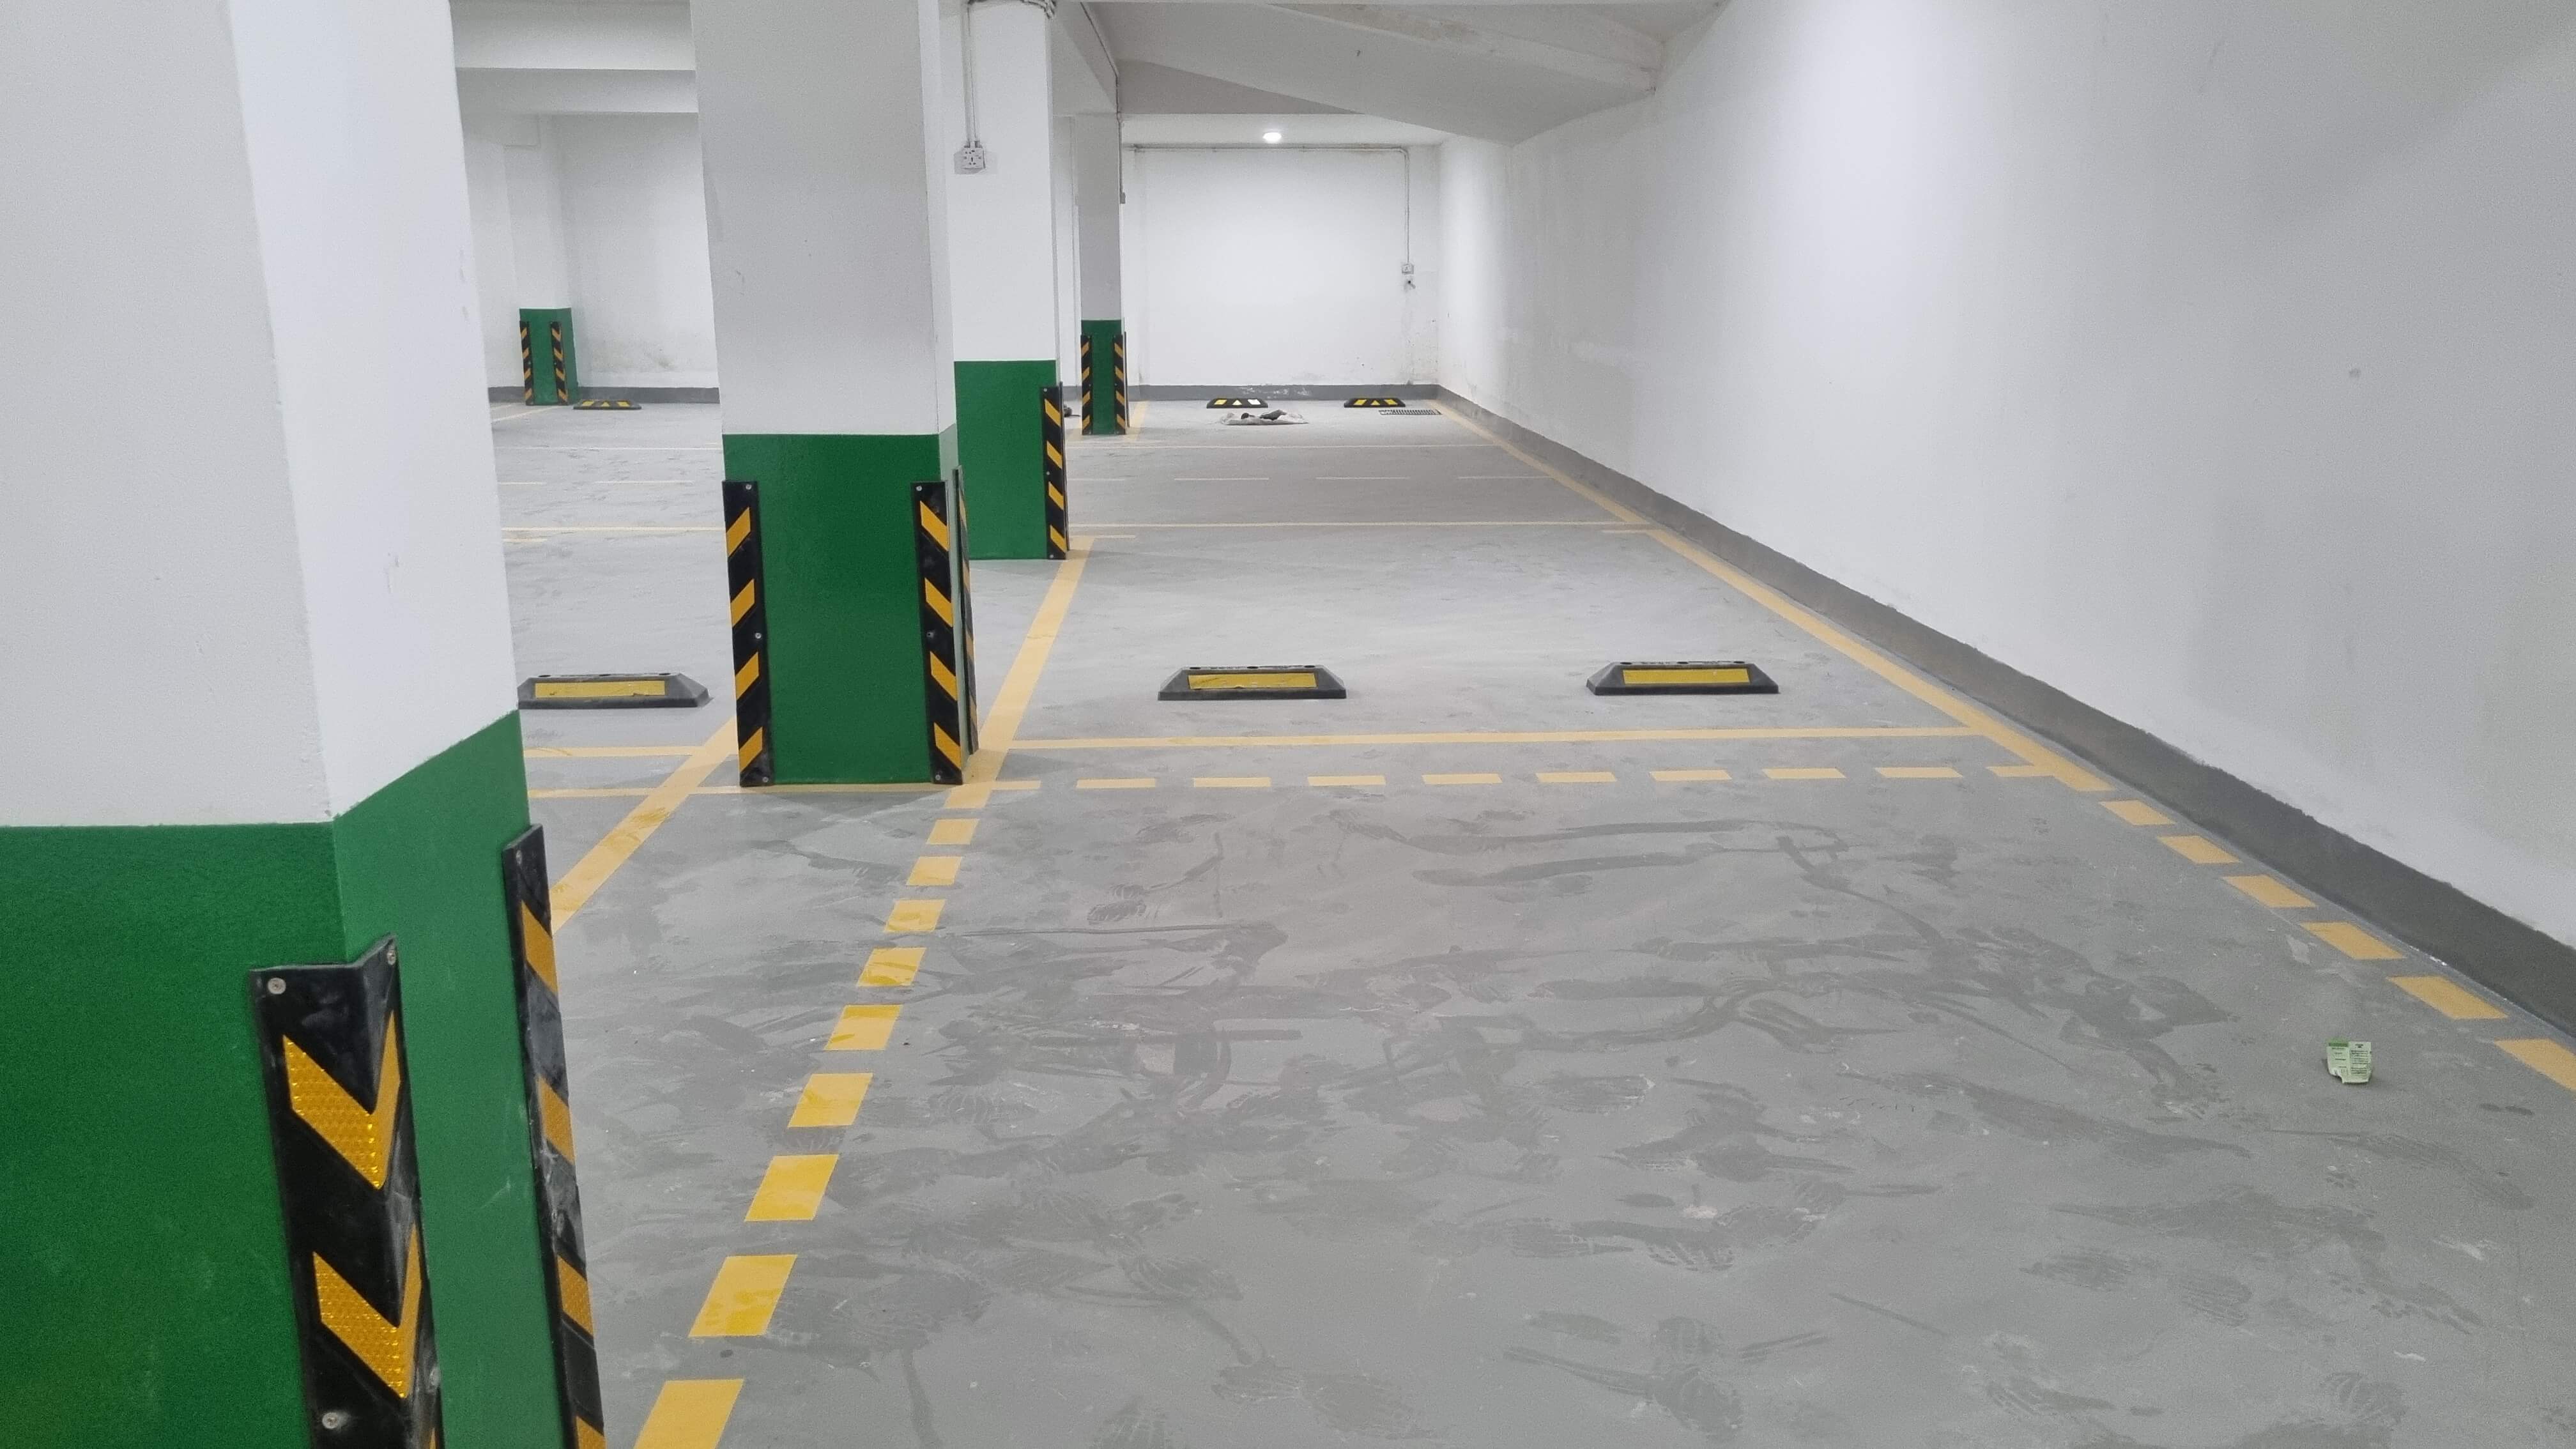
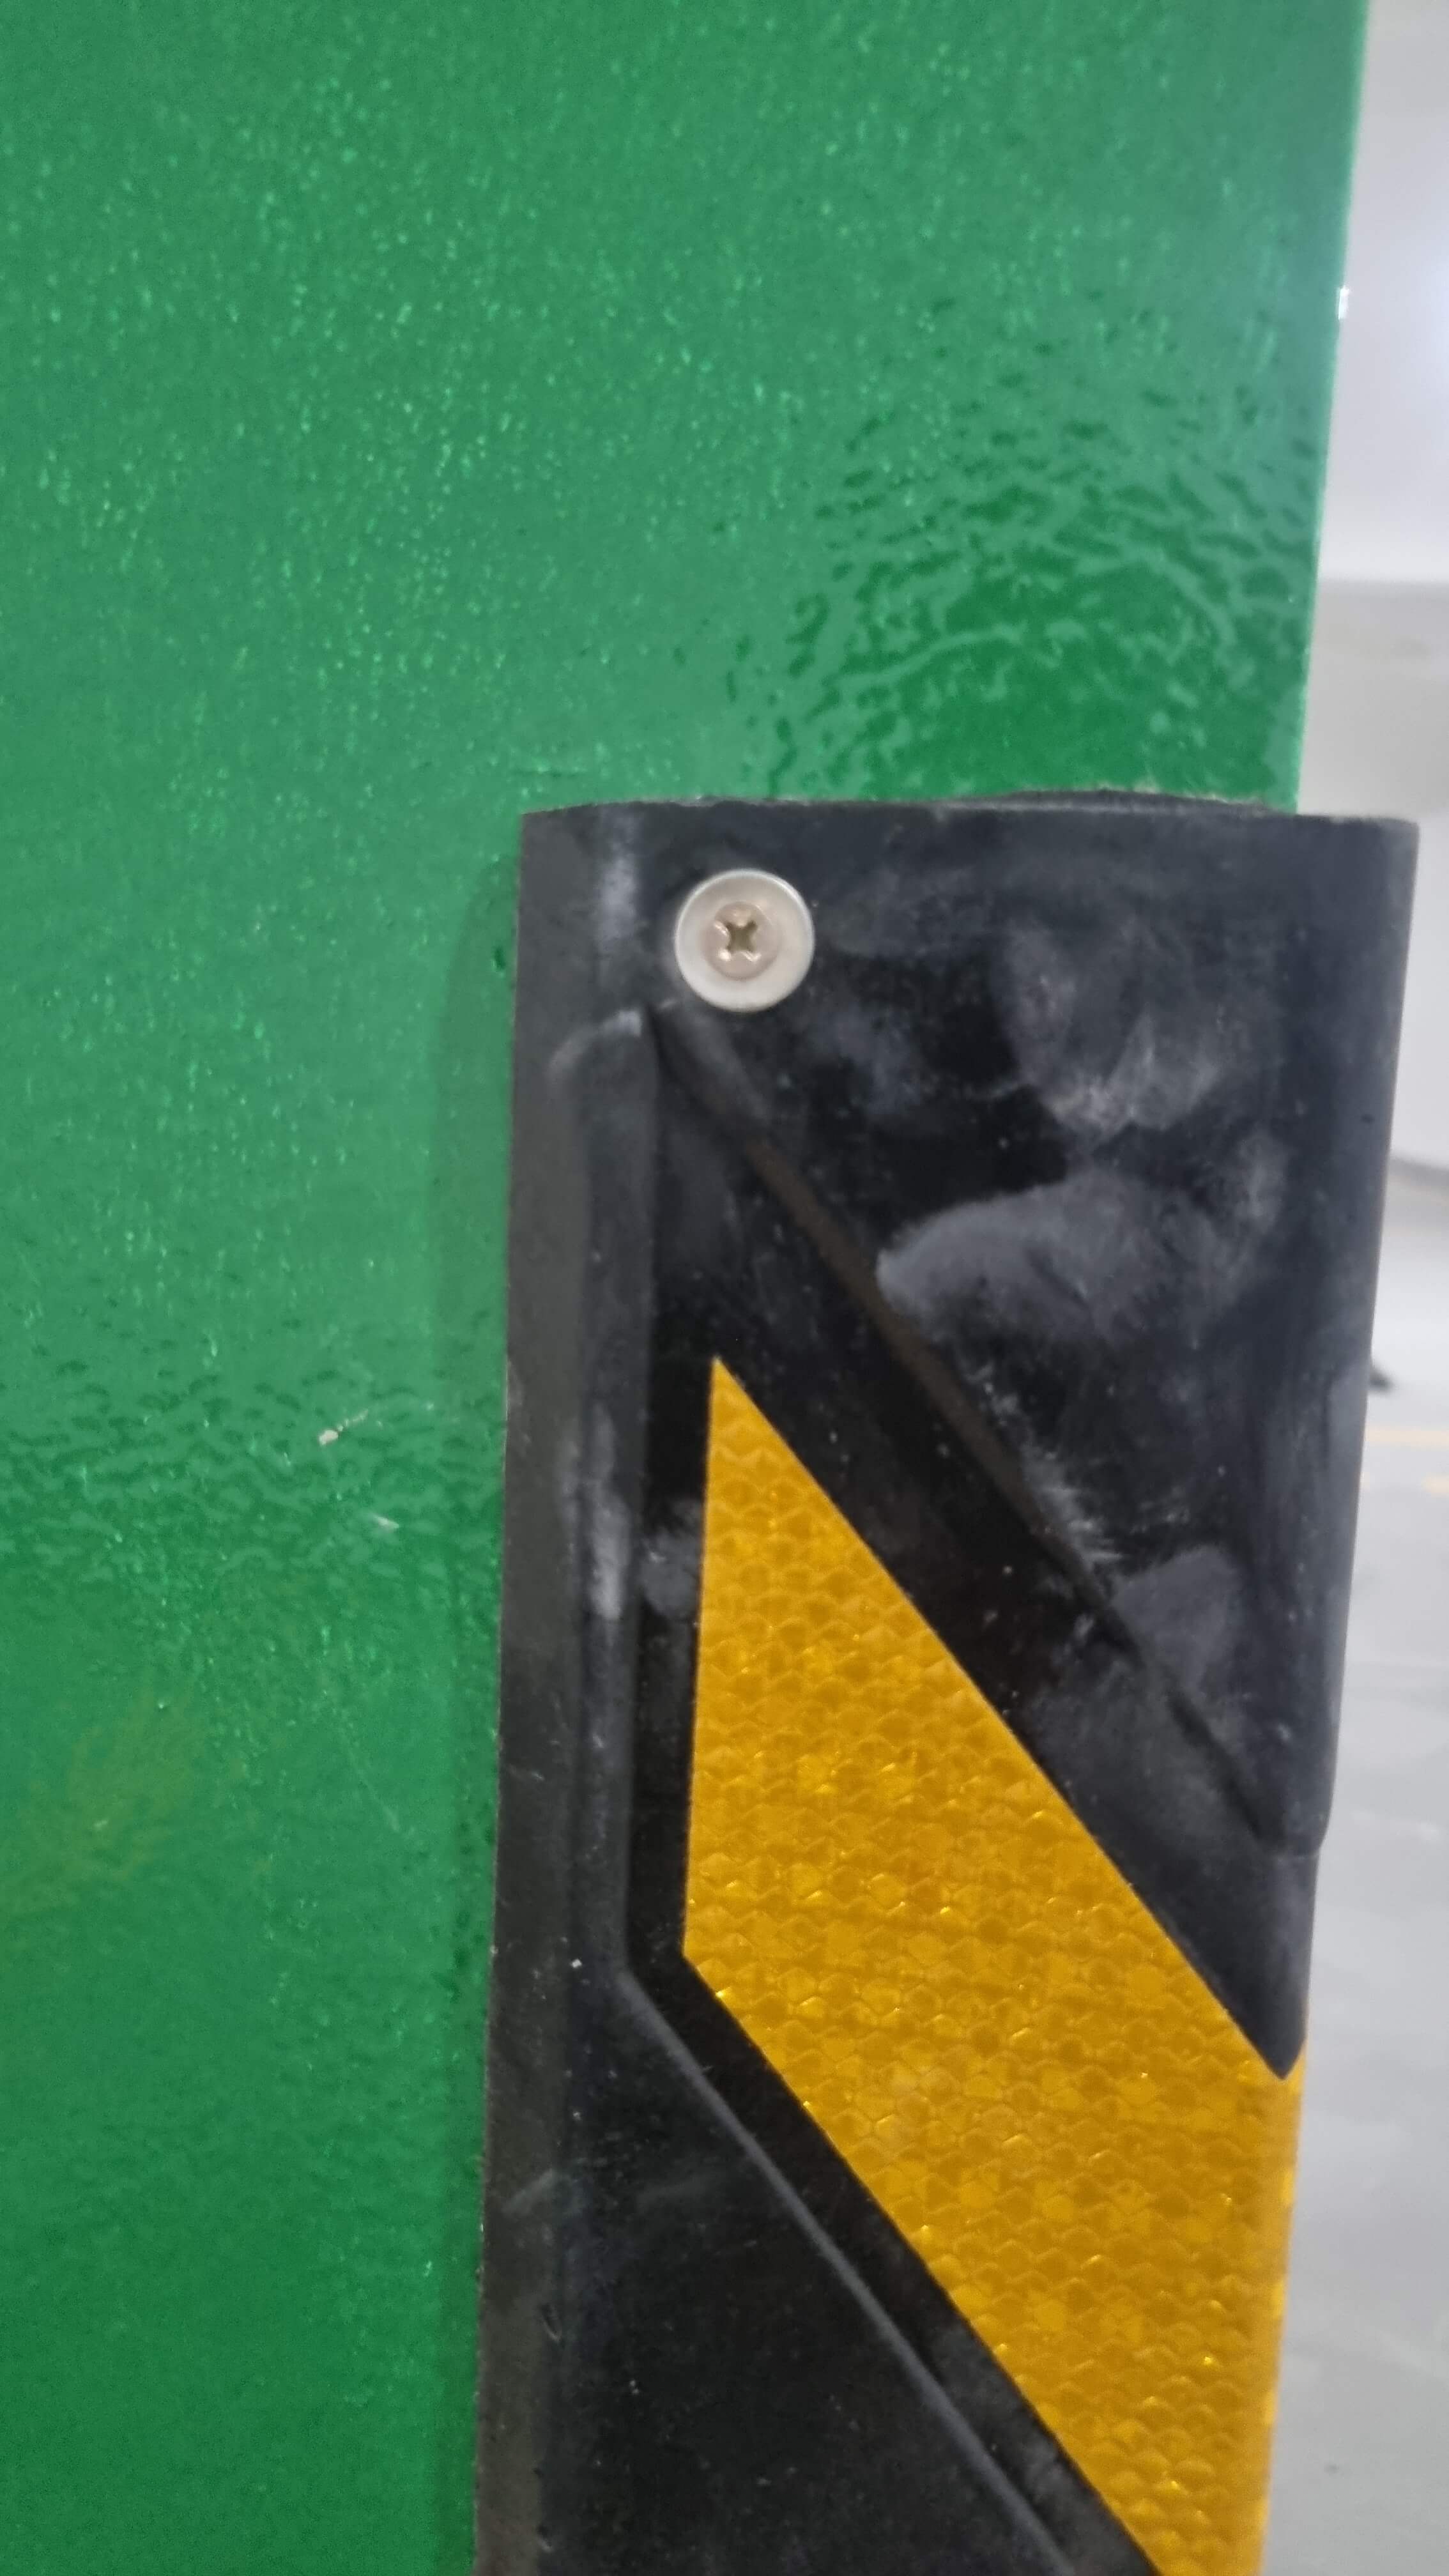
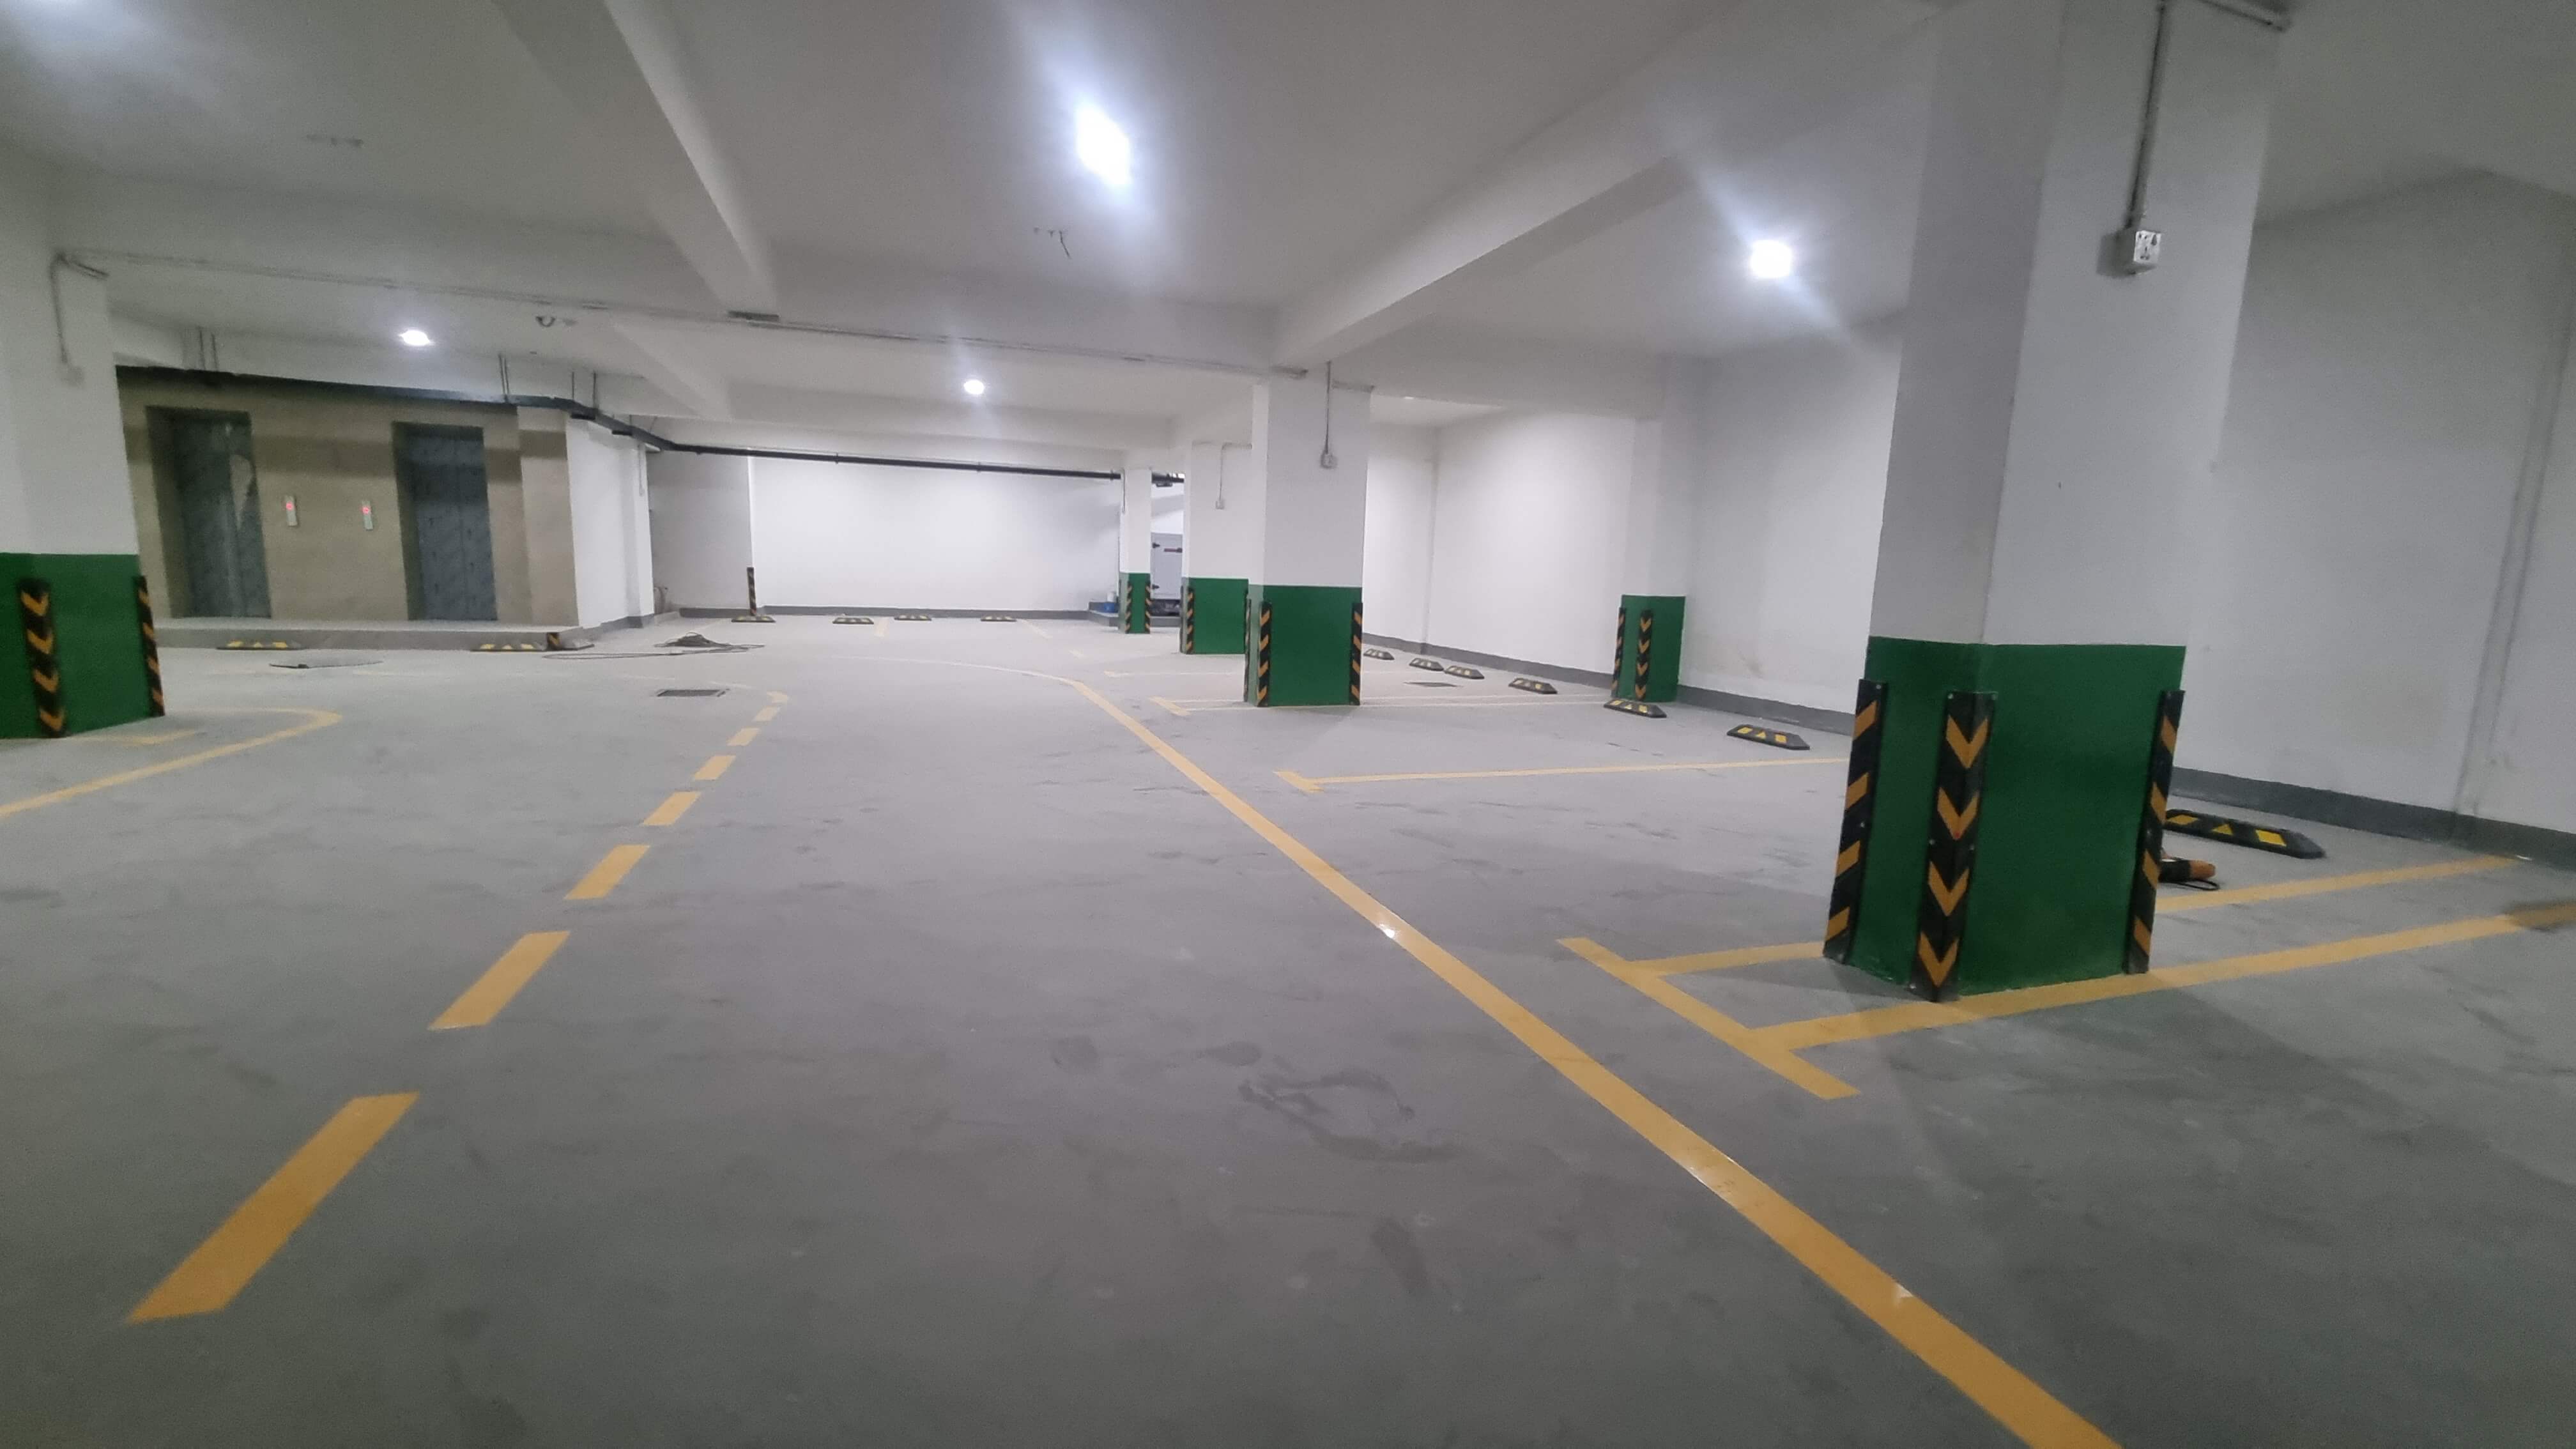
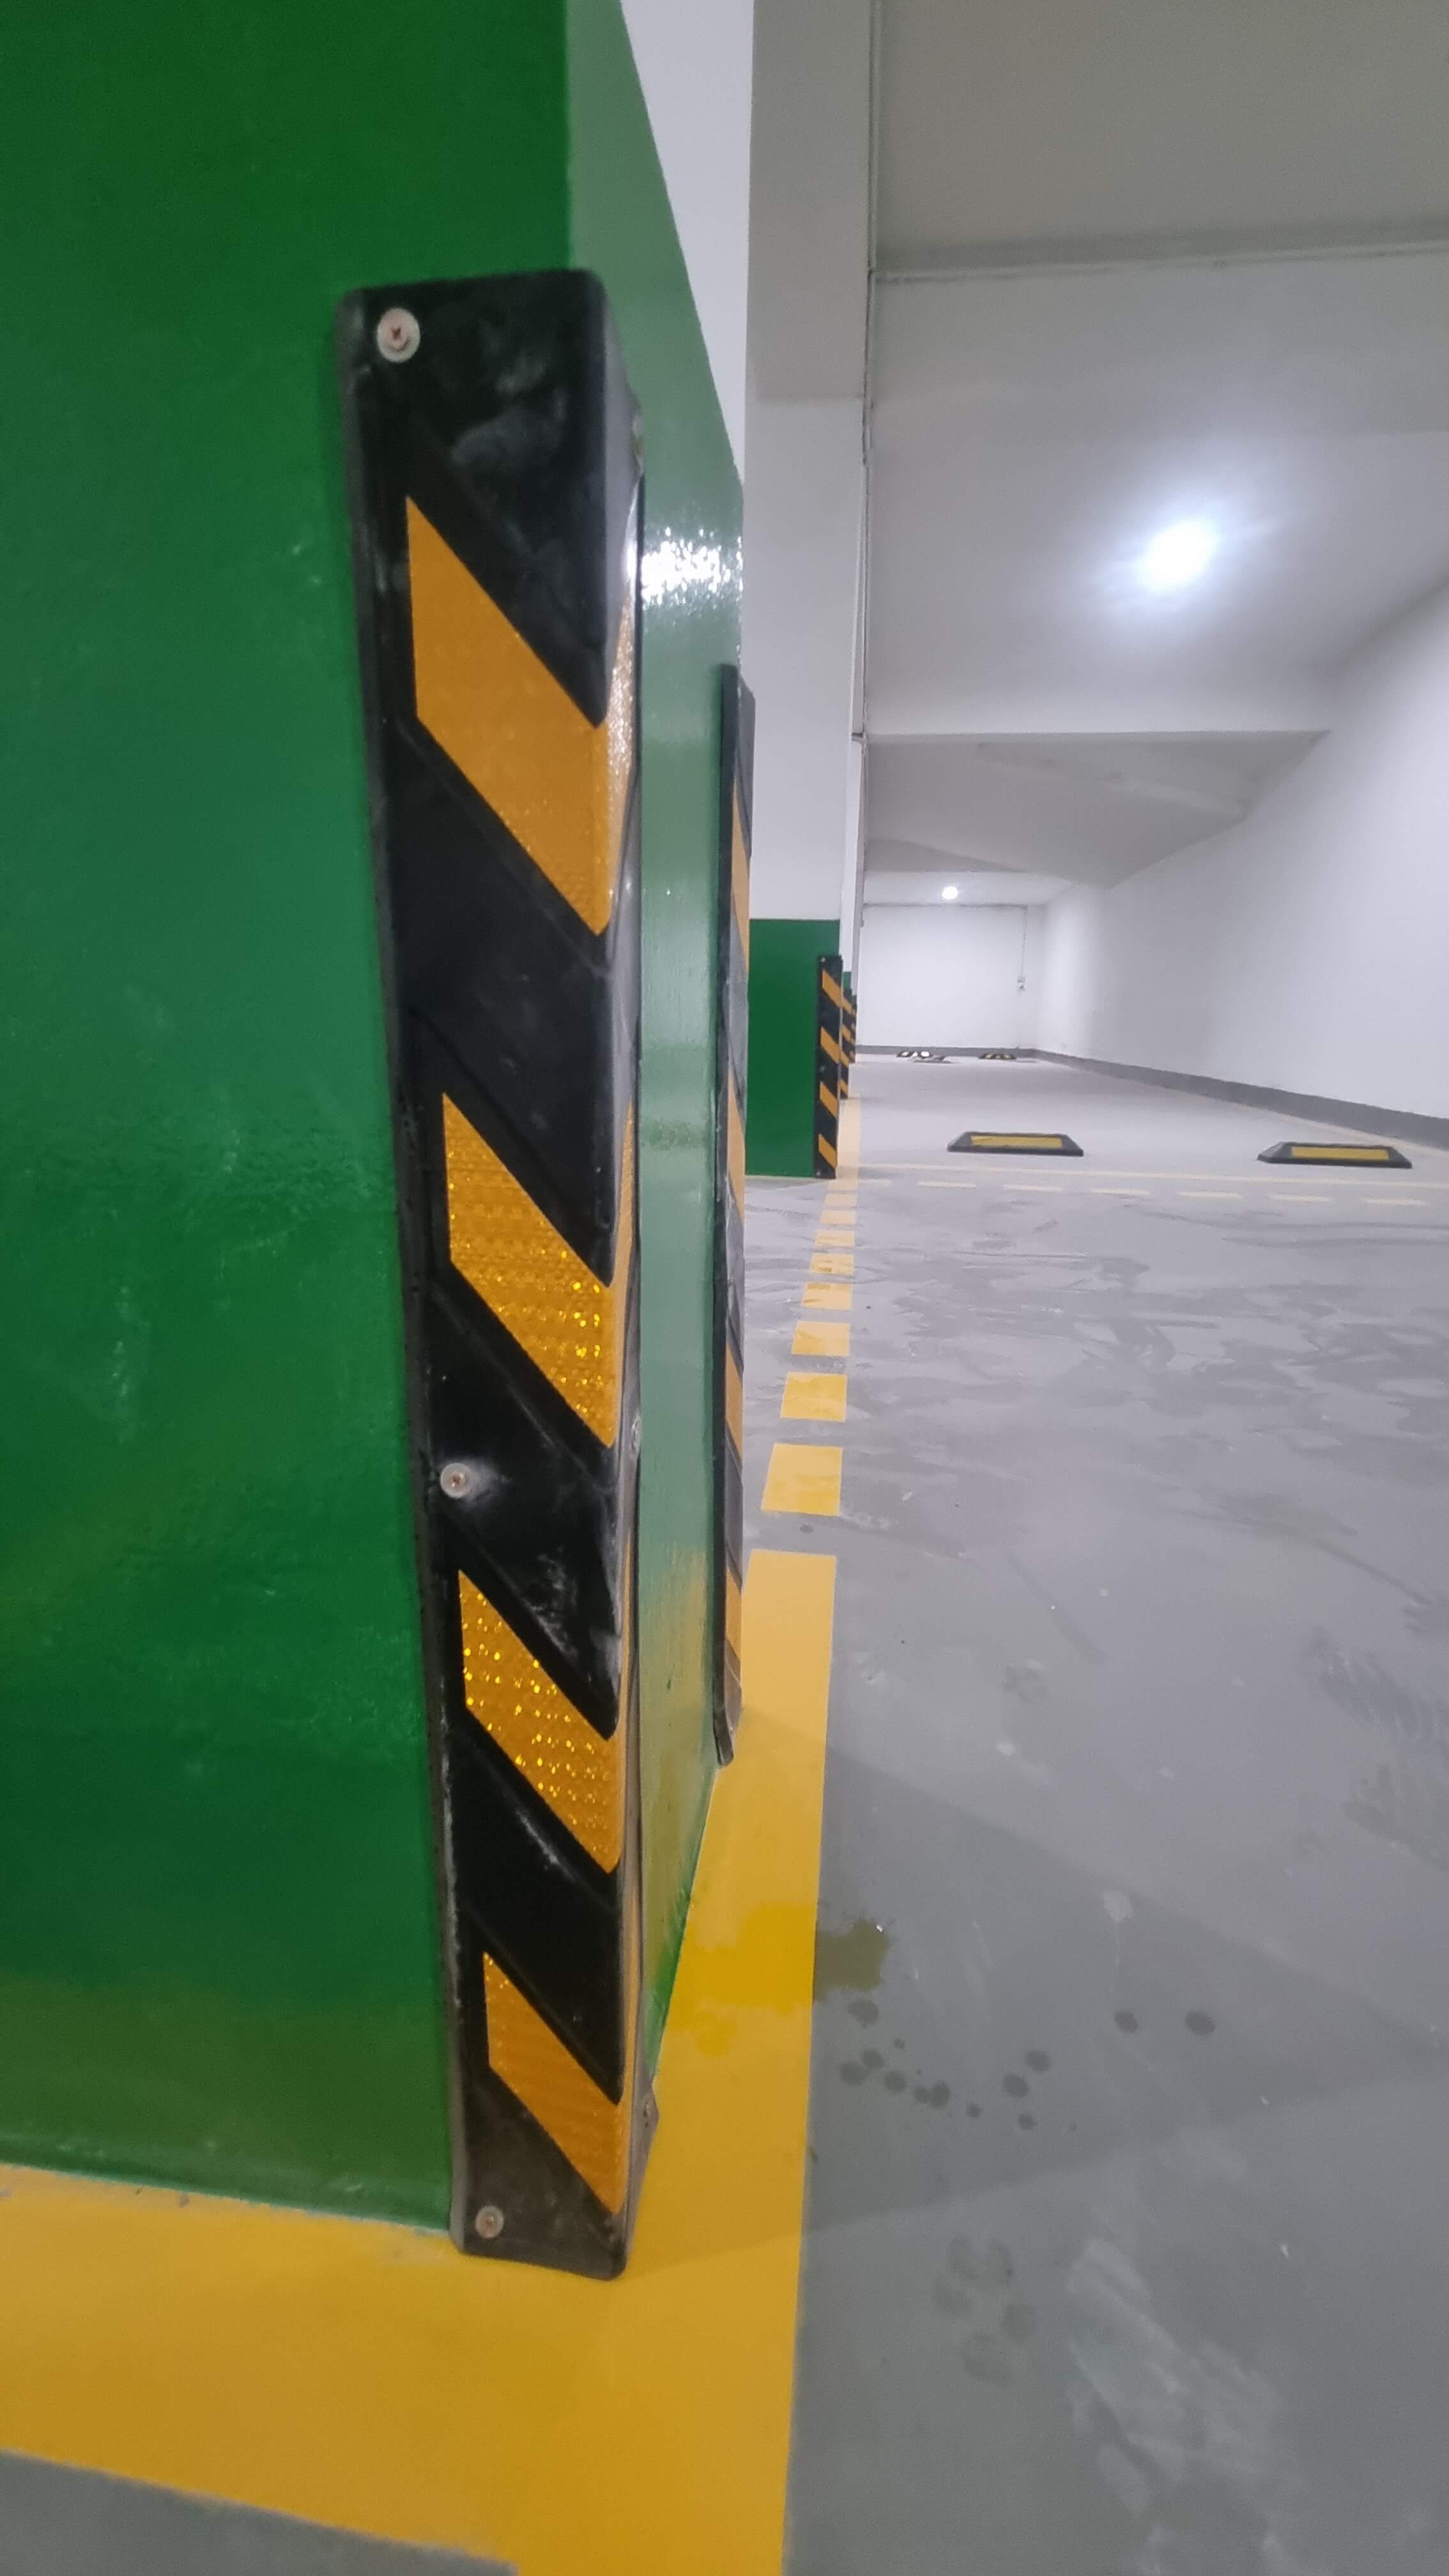
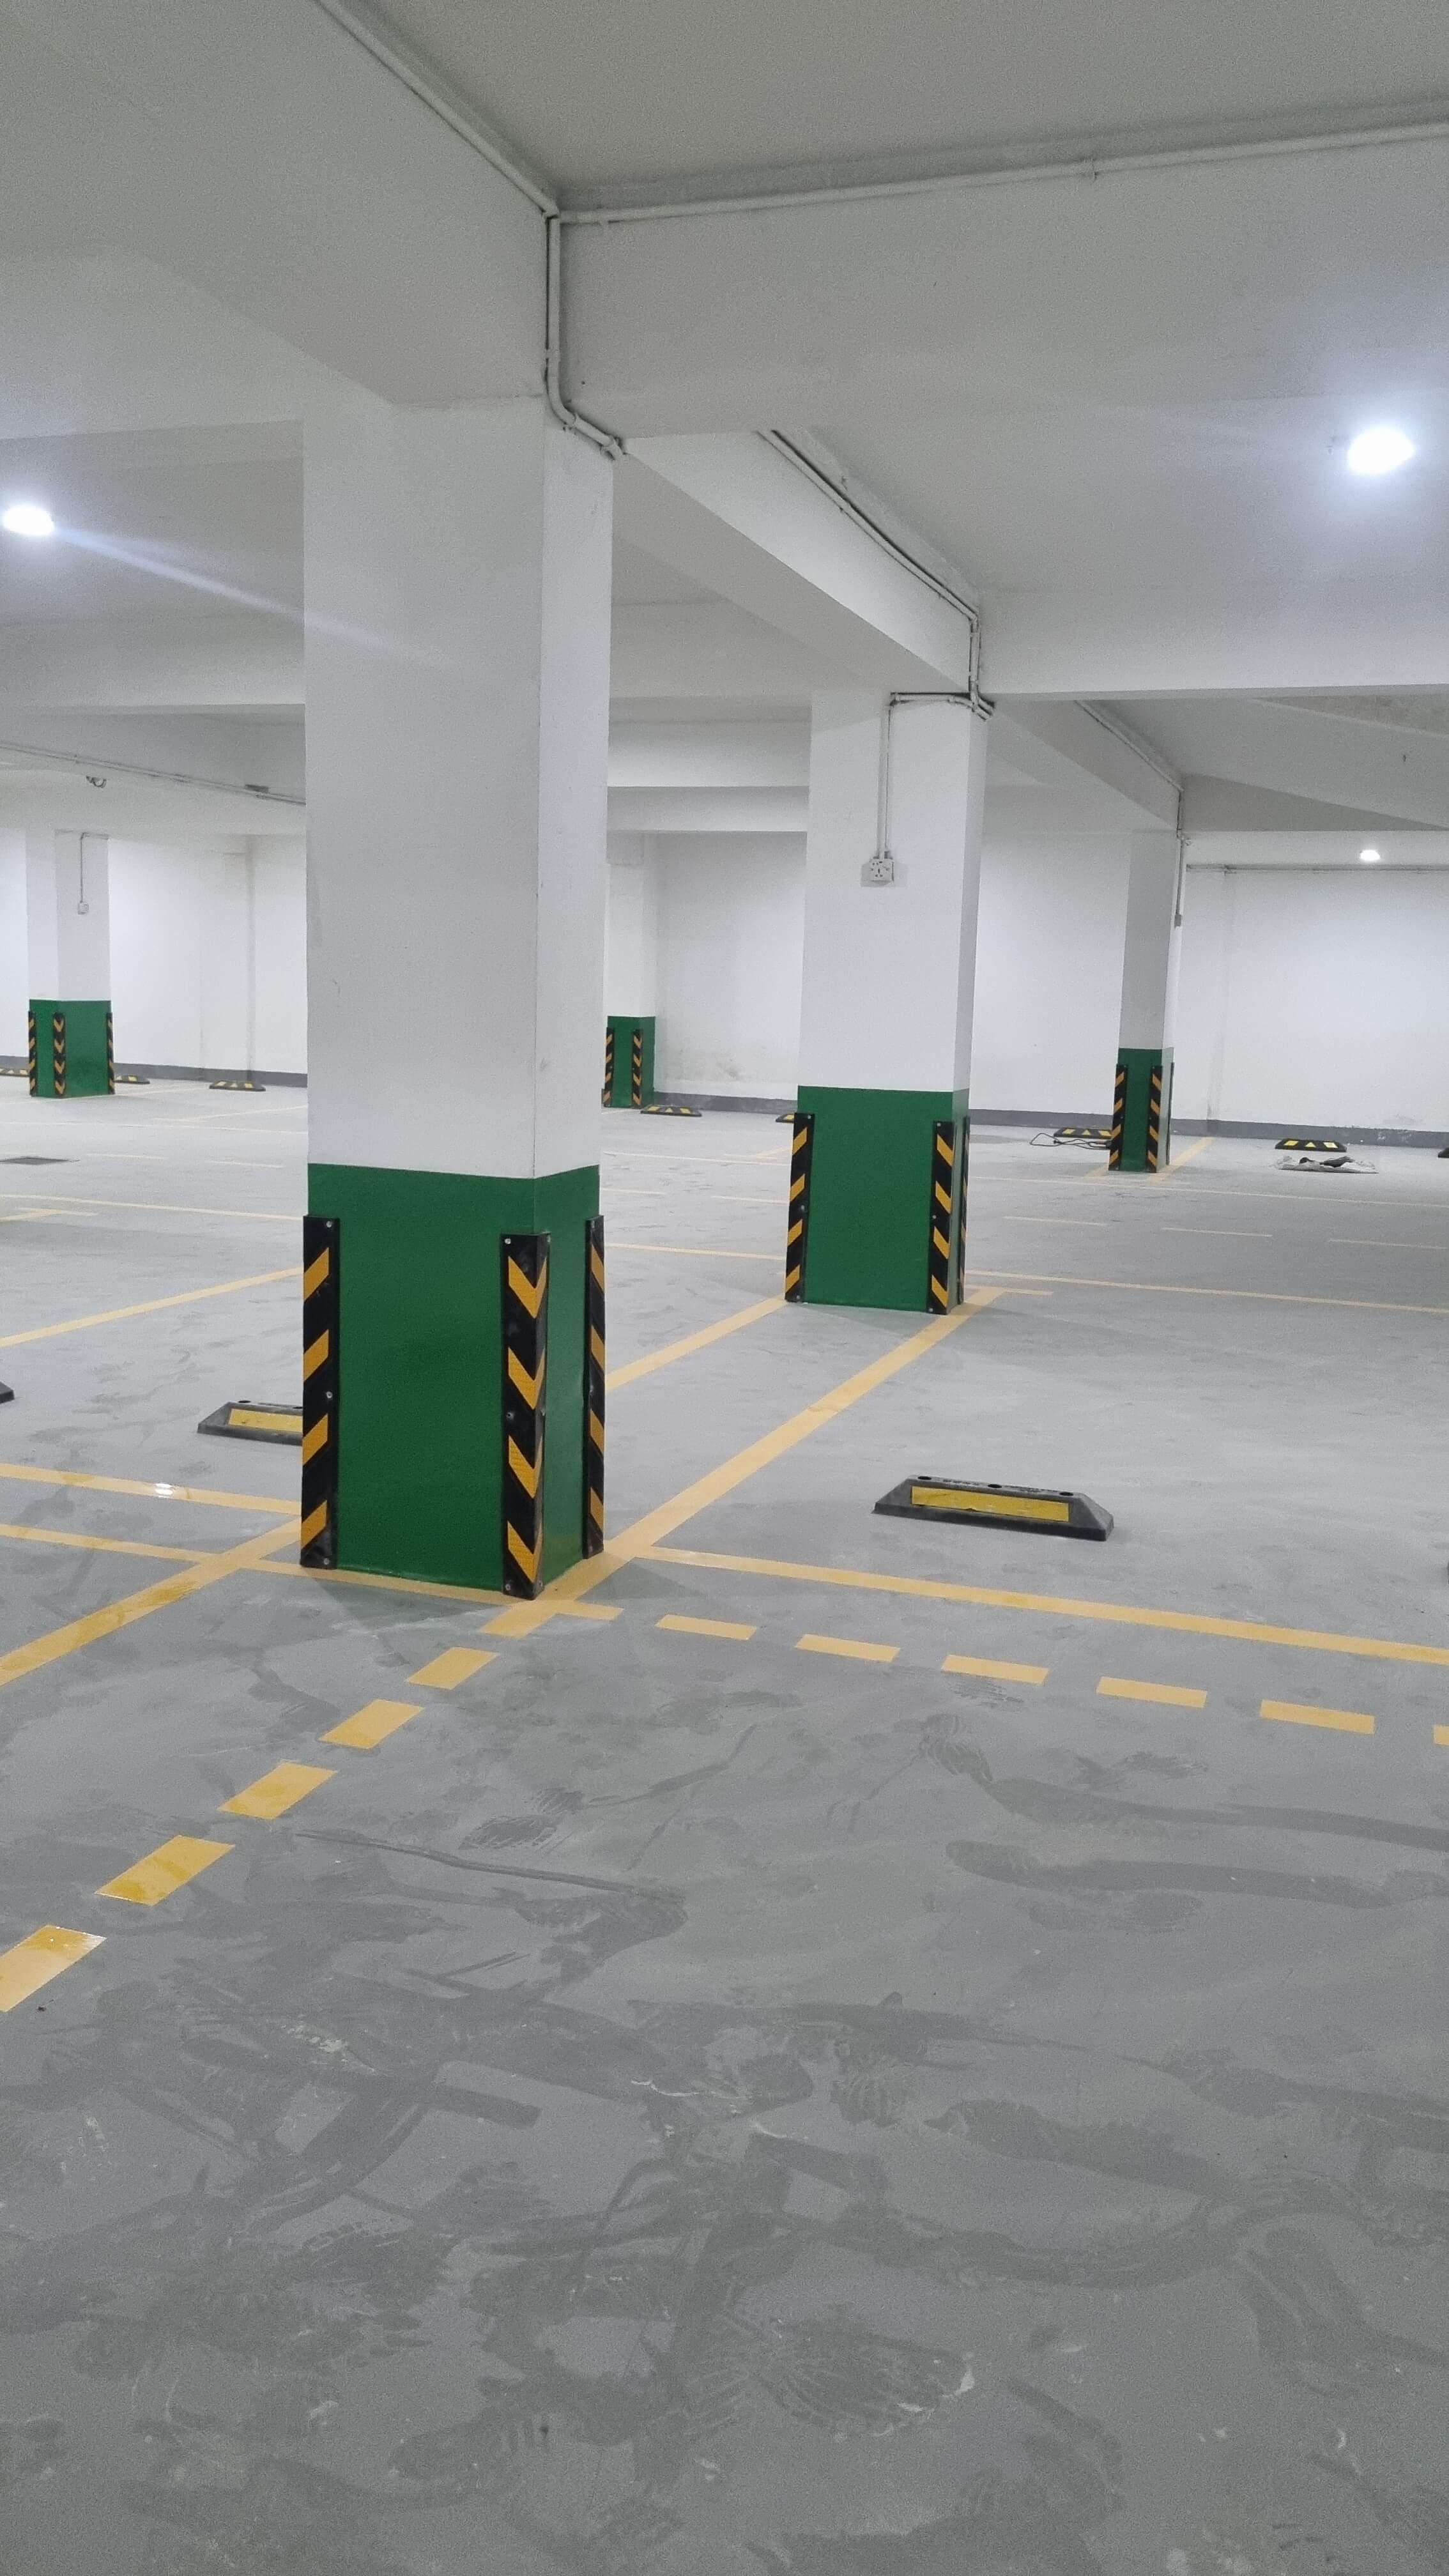
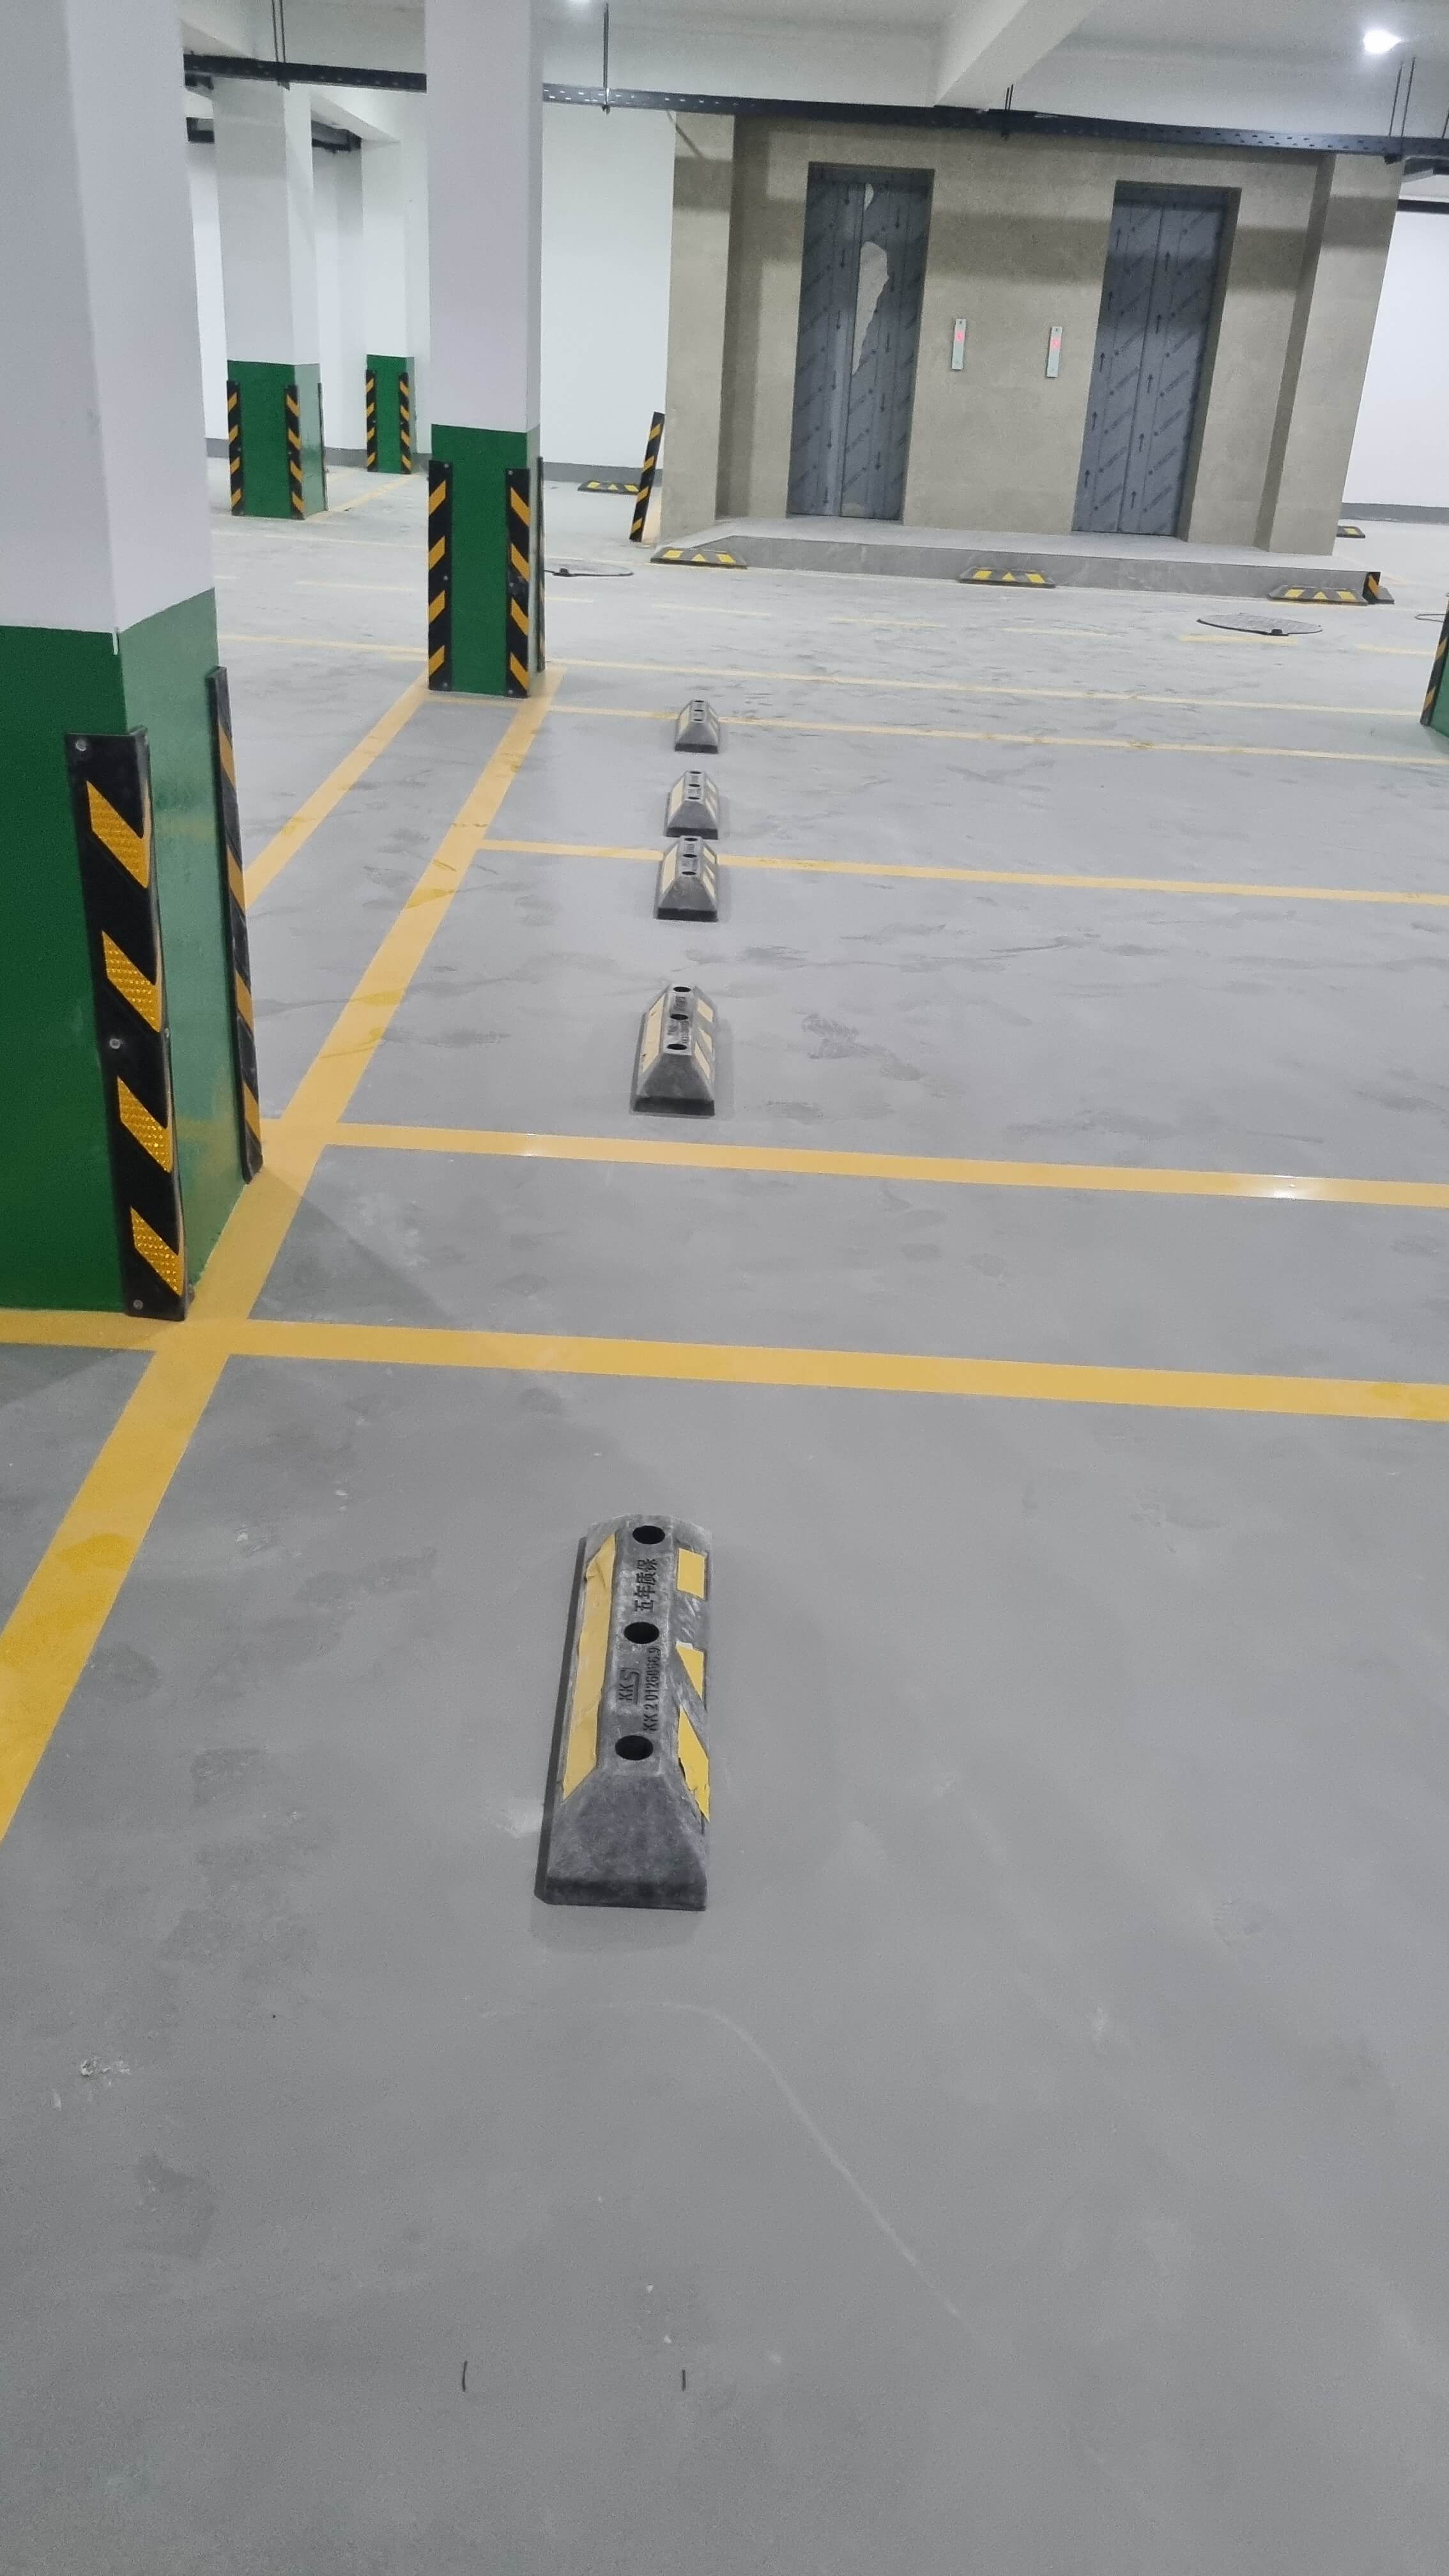
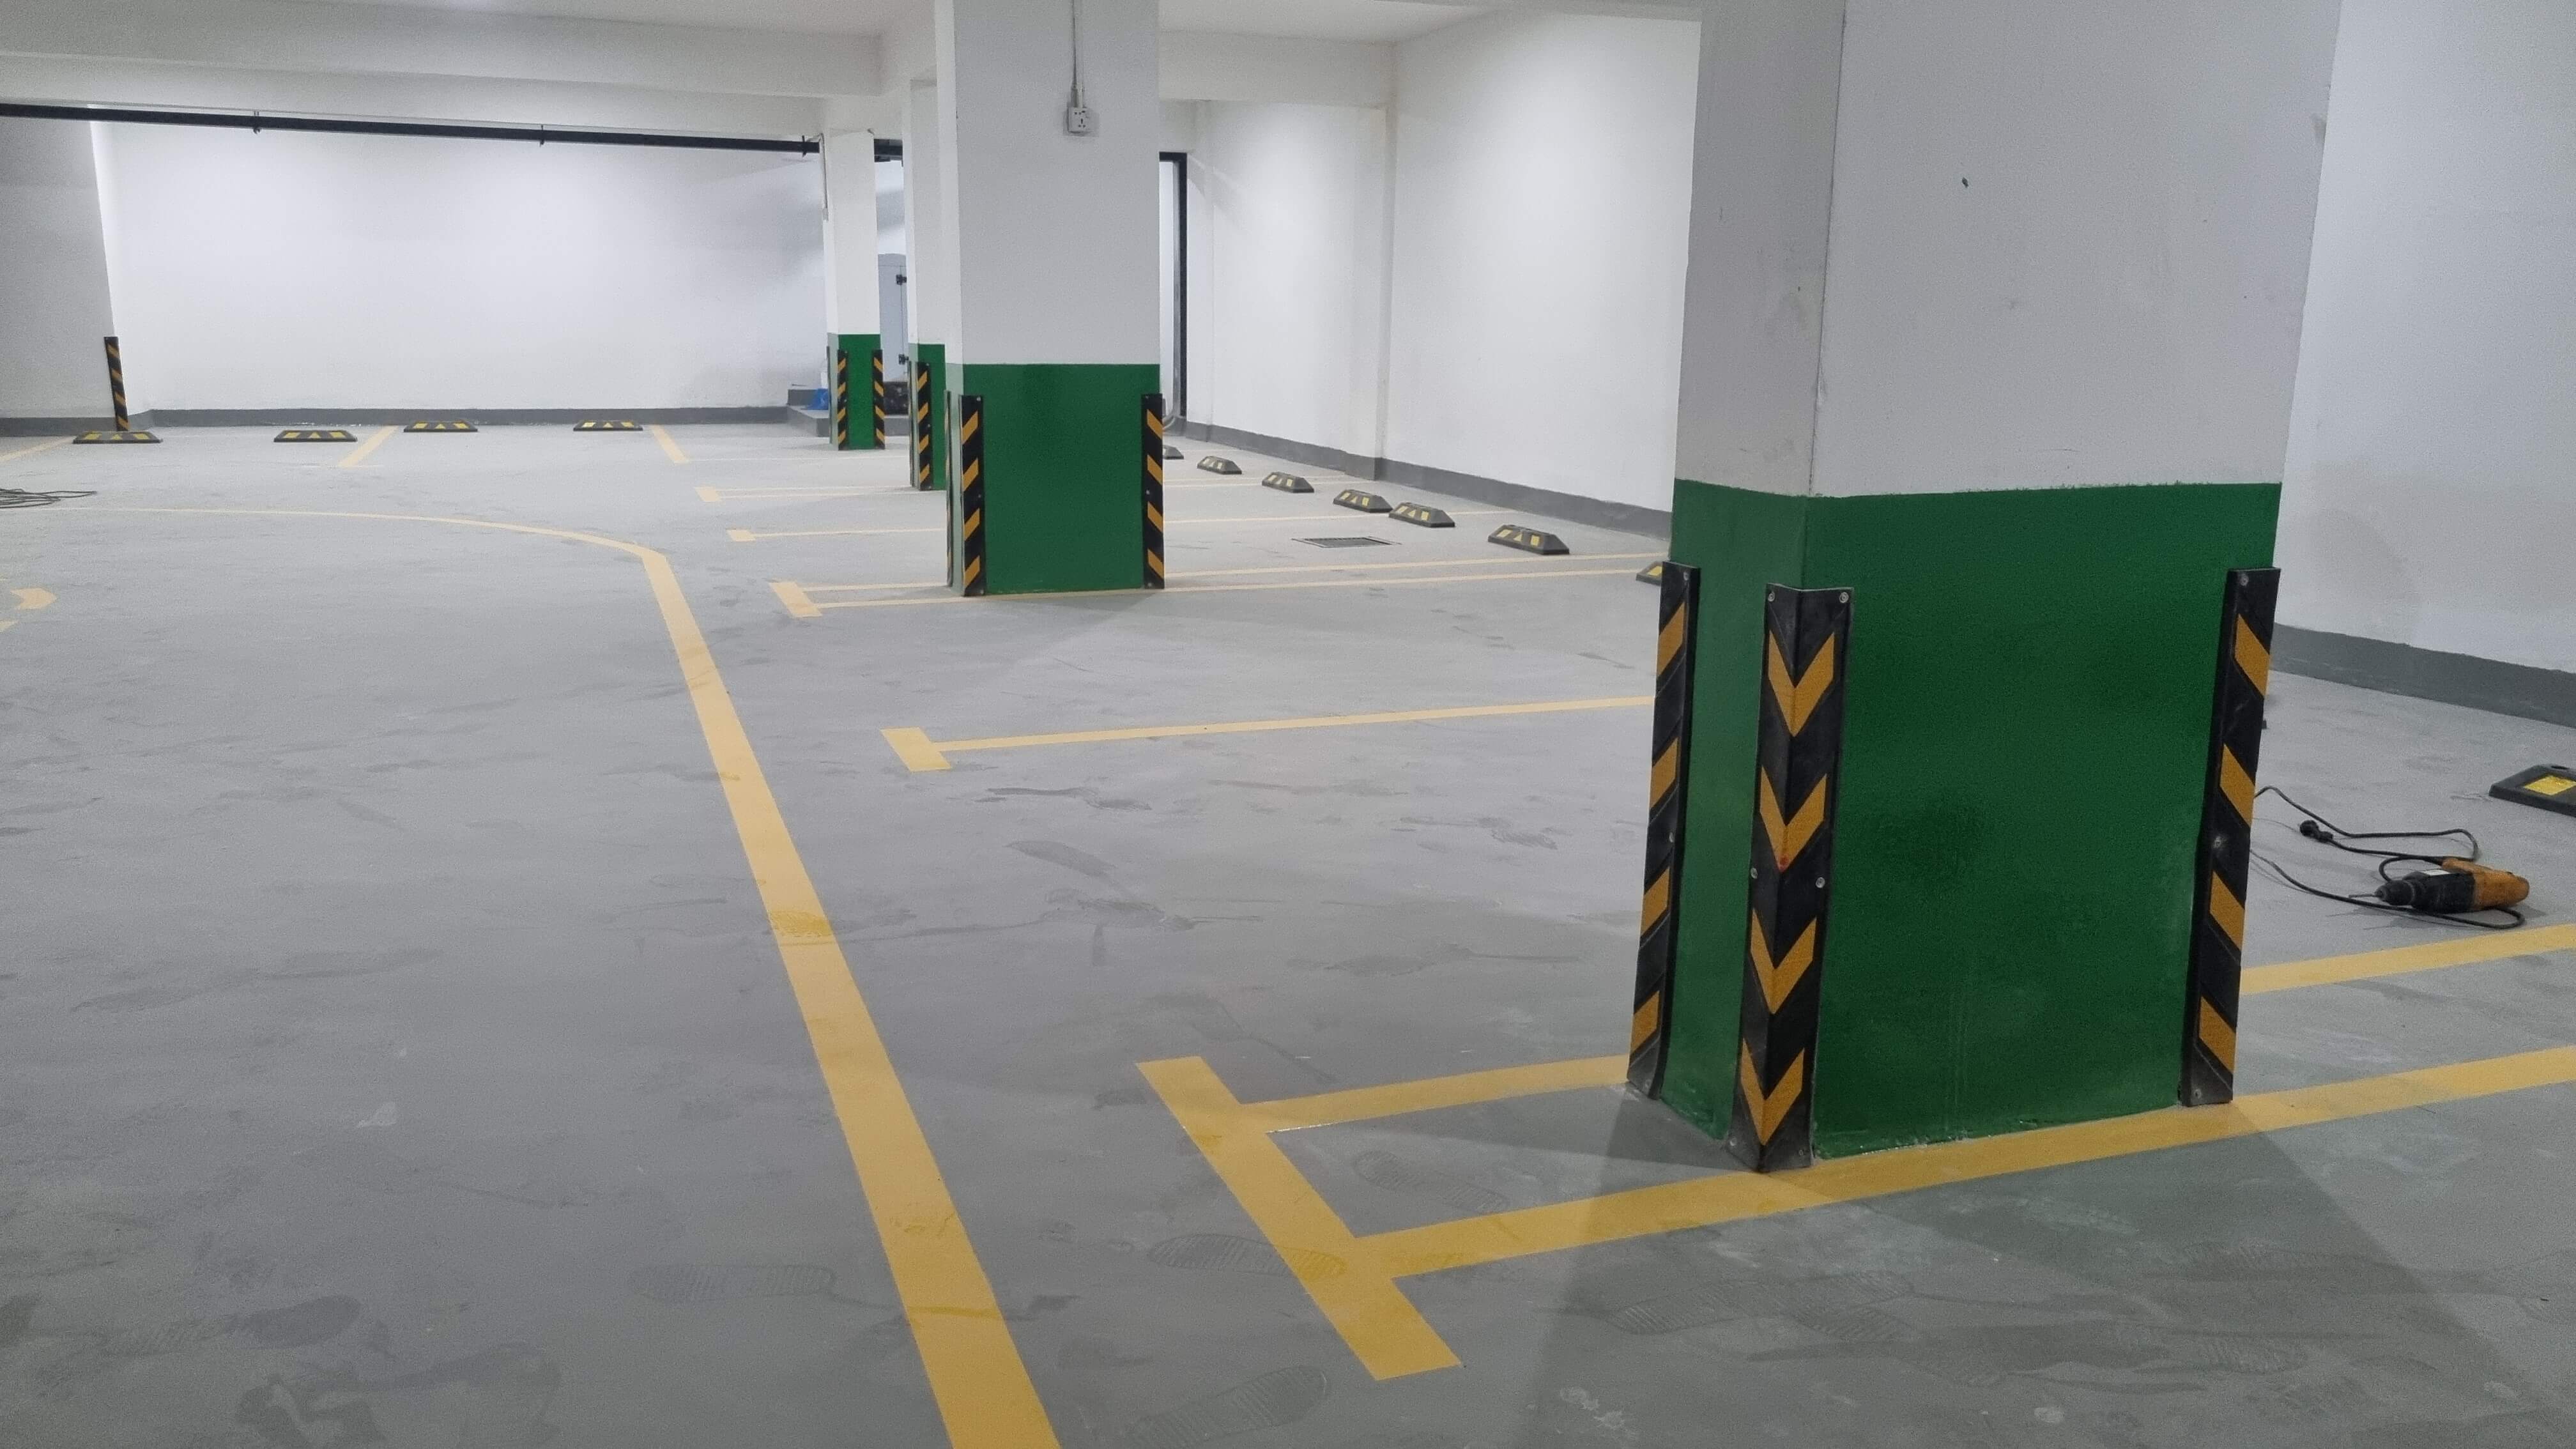
From Fortress Veronica, Bashundhara on 27th Oct, 2025For our facility at Fortress Veronica, Bashundhara, we installed 64 Rubber Wall Corner Guards (INV-719, 27-Oct-2025). Each unit measures 800mm x 82mm x 8mm and is made of premium synthetic rubber with yellow reflective strips. The impact resistance and elasticity are impressive, offering long-lasting wall protection and safety in tight driveways.
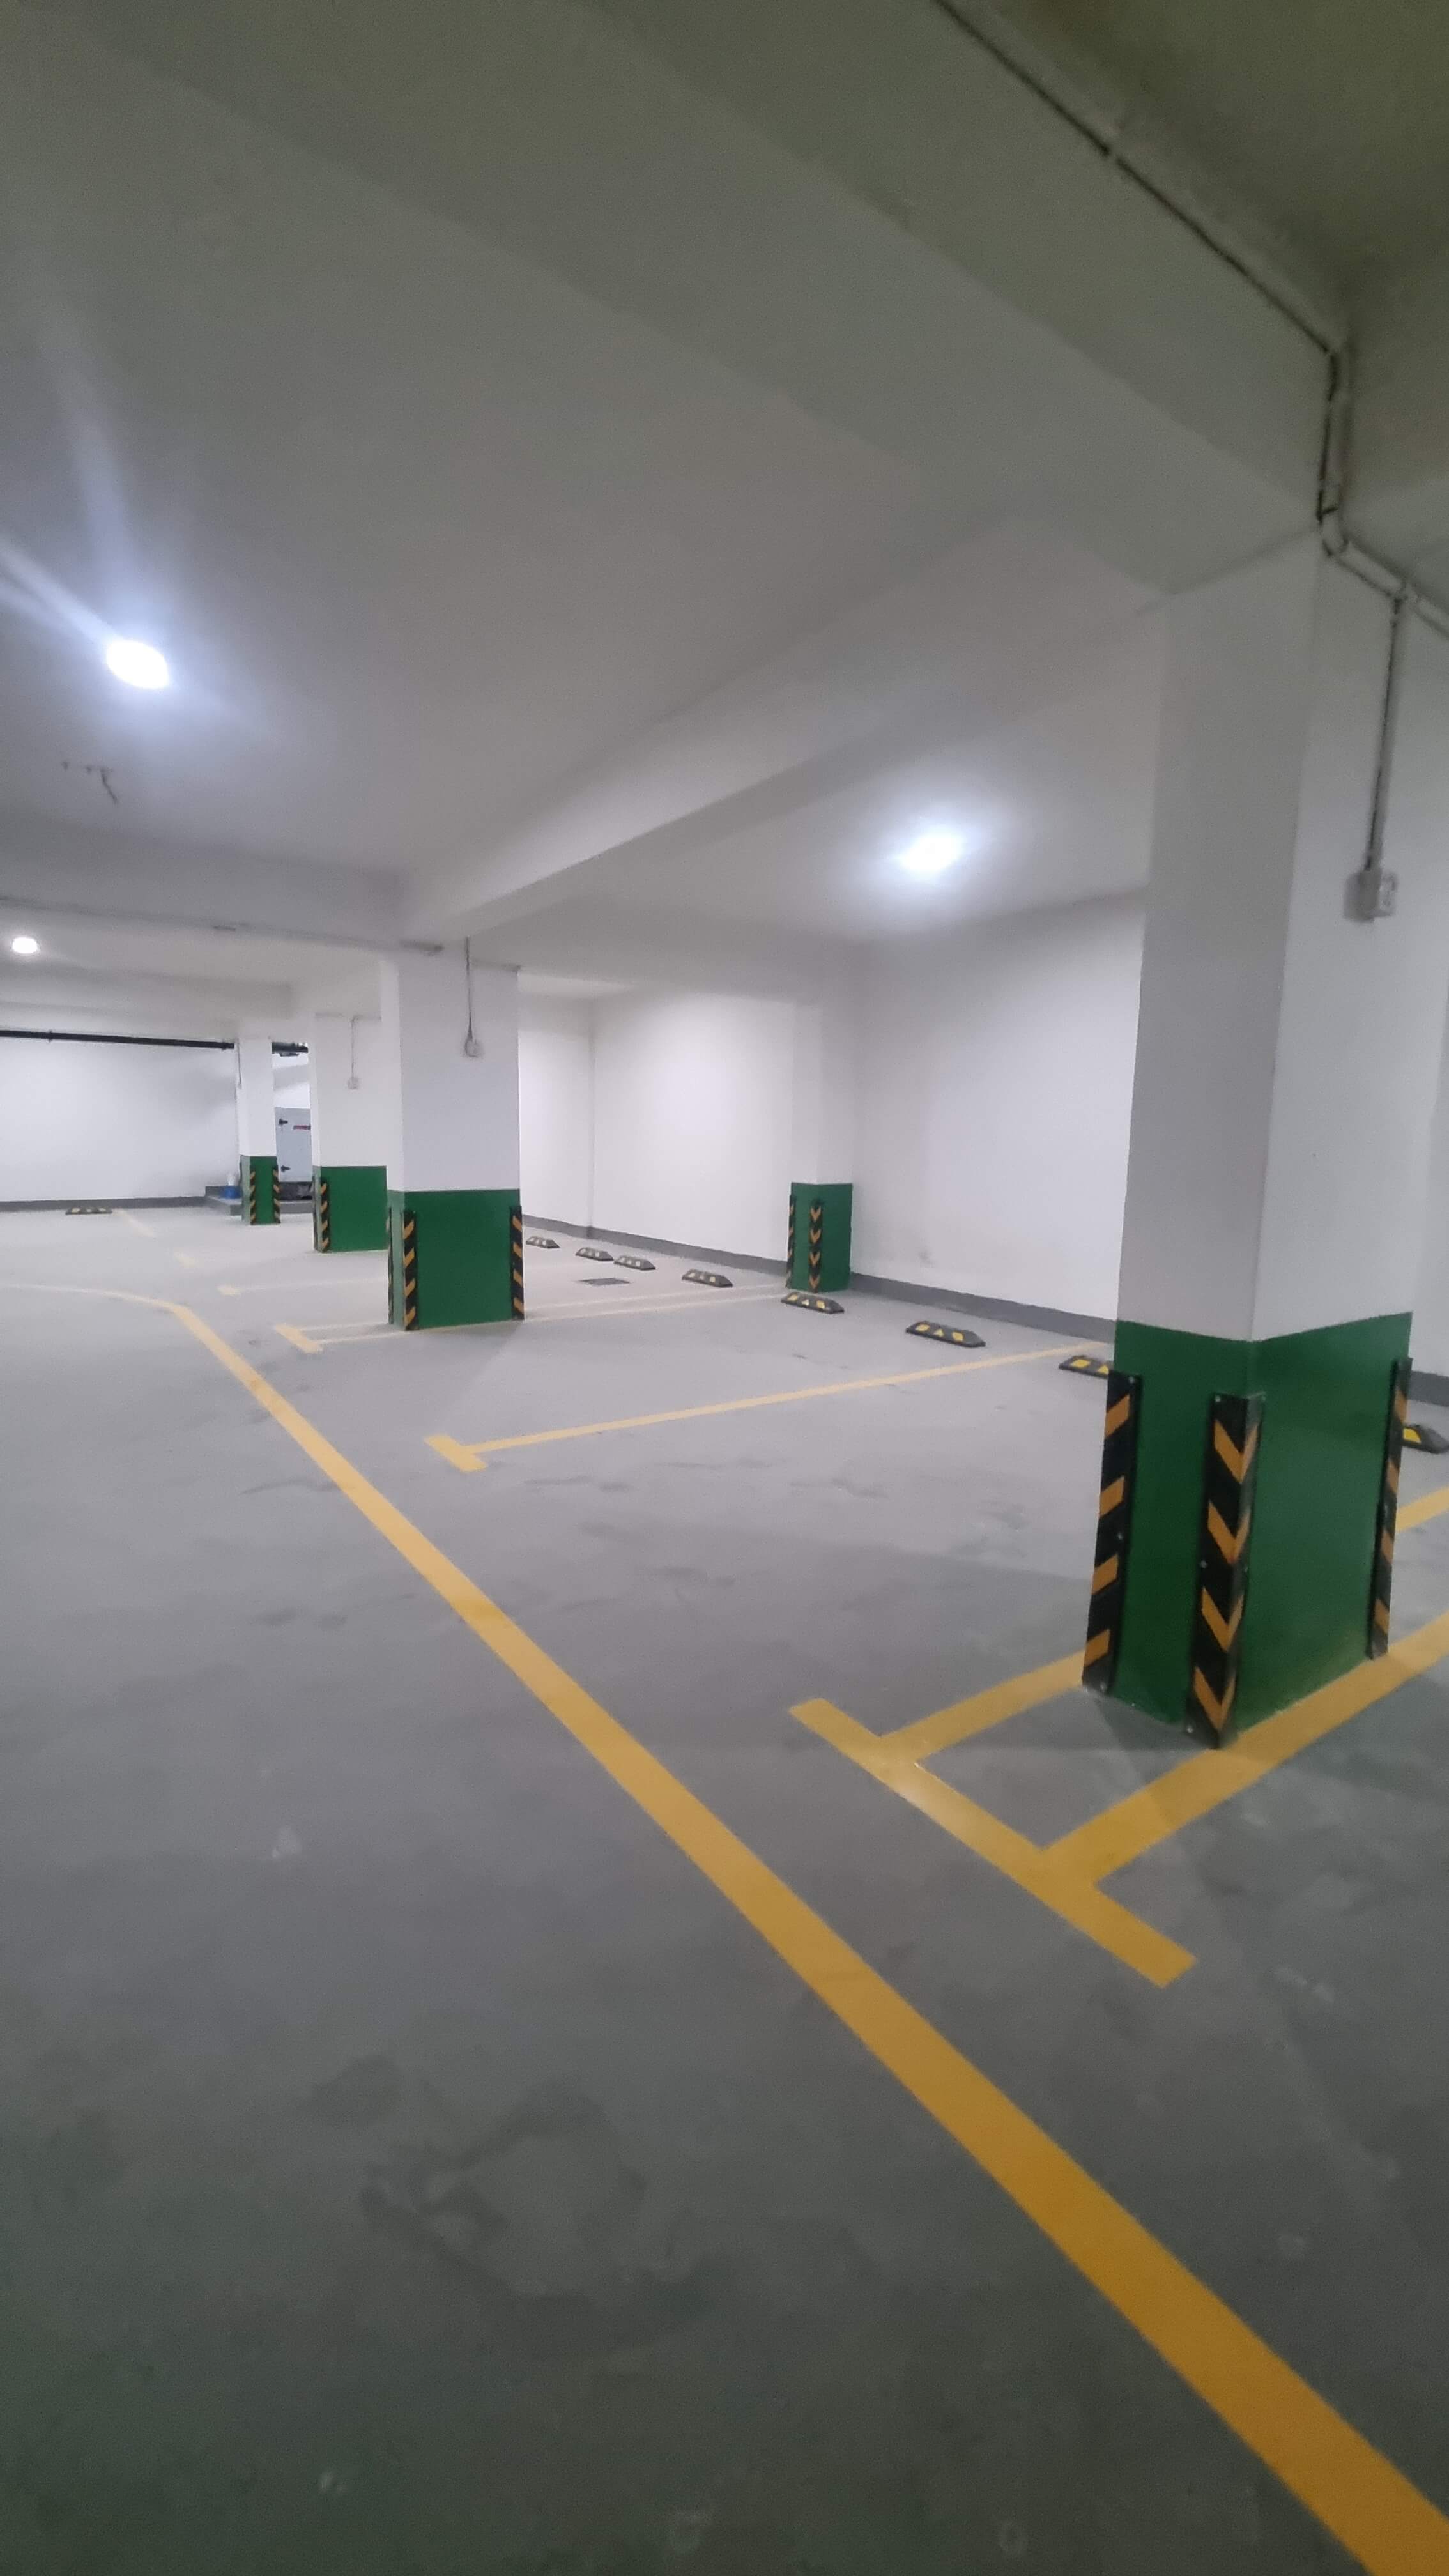
Sunnydale School
From Sunnydale Pvt. Limited on 13th Sep, 2023Before installing the Rubber Wall Corner Guards from Nobarun International, our basement walls in Bashundhara often got damaged by vehicle turns. After purchasing 94 pieces (Ref. NI/QT2957, 13 September 2023), the problem was solved. The guards fit perfectly and the yellow reflectors help drivers see clearly. Superb product quality and finish.
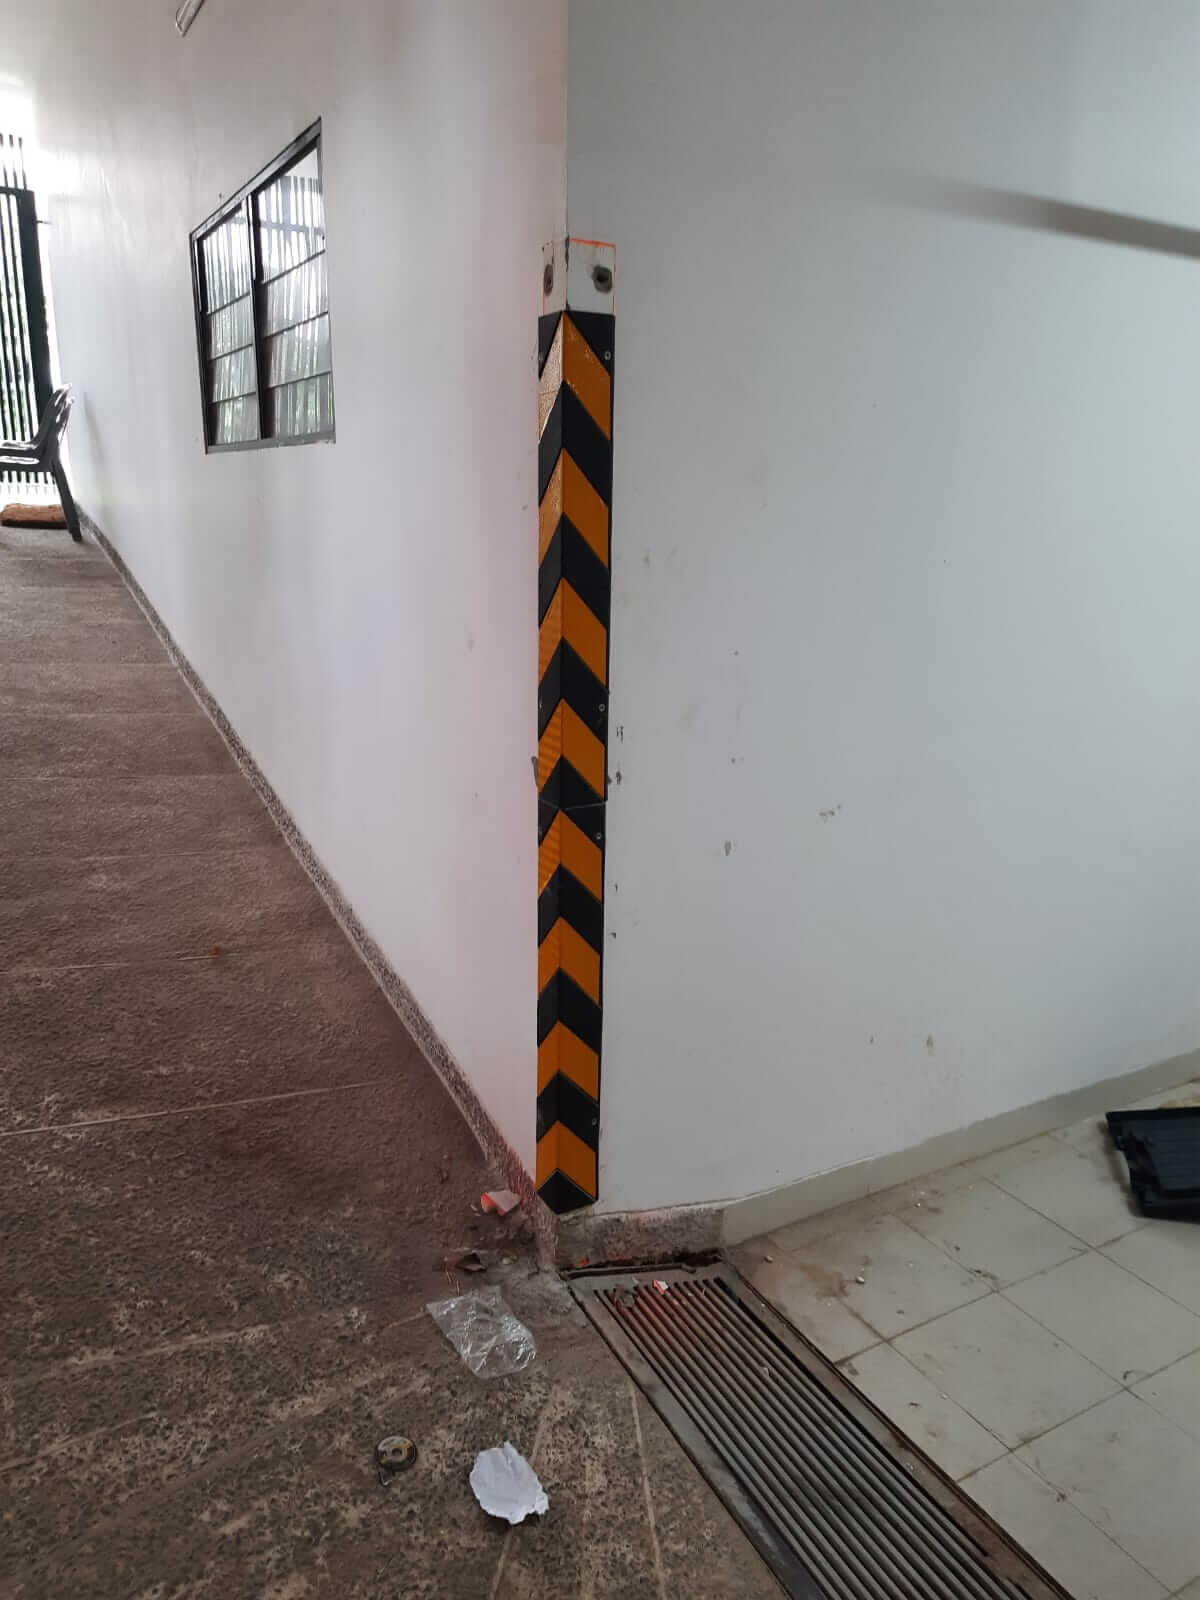

Mr. Saiful
From Bashundhara Residential Area on 21st Mar, 2023We purchase 18 pcs corner guard for our parking. Product quality is very much high and we are so happy with Nobarun International Company. Probably They are the leading parking equipment provider company in Bangladesh.
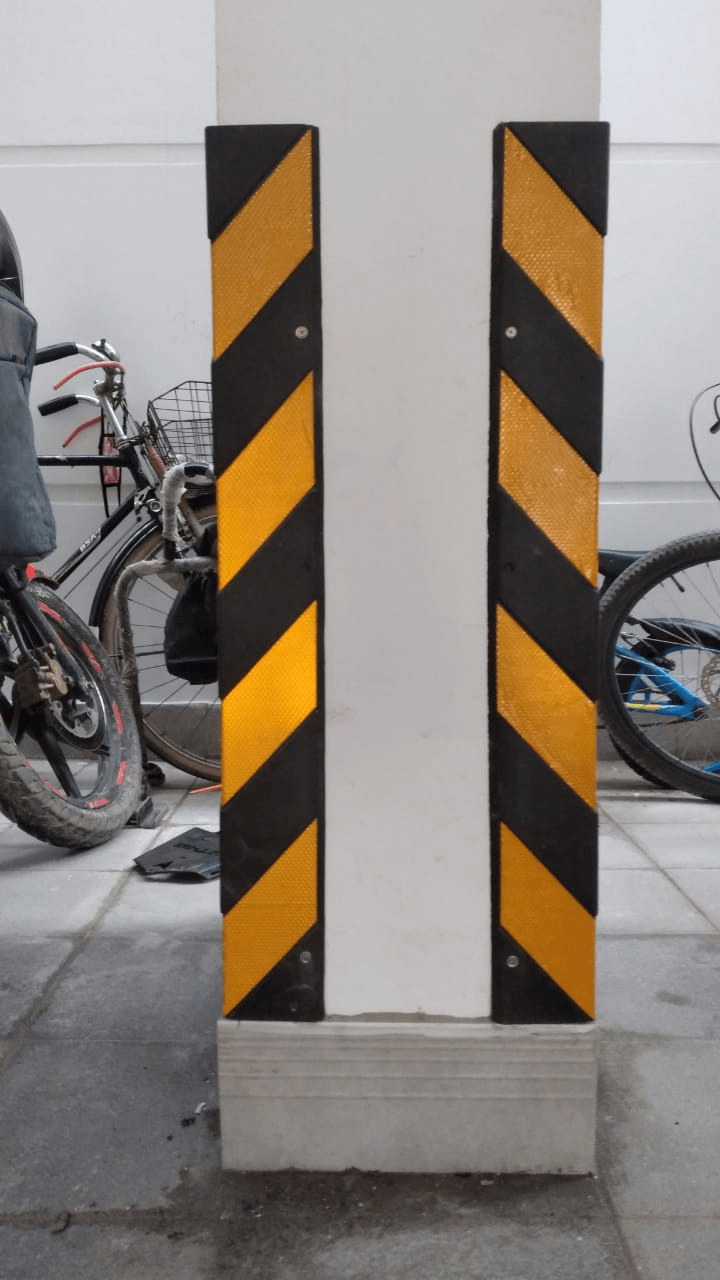
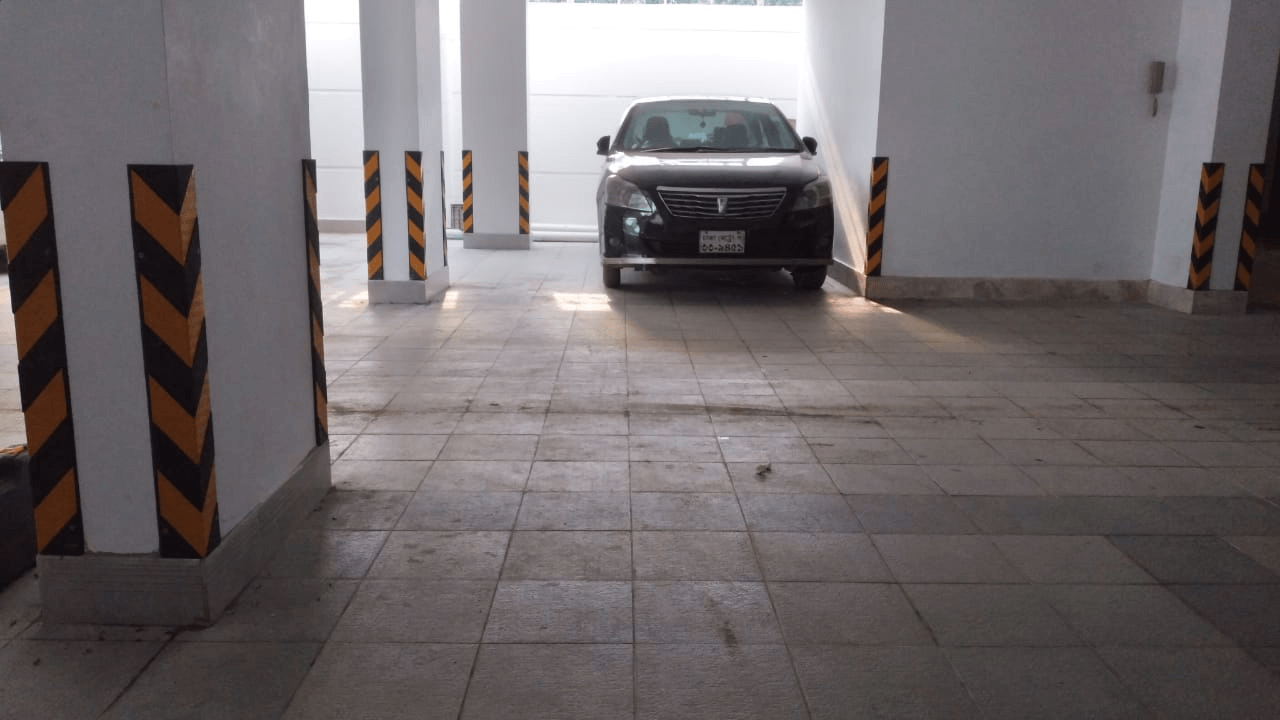

Civic Development
From Bashundhara Residential Area on 21st Mar, 2023We purchased 17 pieces of Rubber Wall Corner Guards from Nobarun International under Ref. NI/QT3082 dated 21 March 2023. The products were supplied as a sample batch for Civic Development at Bashundhara Residential. The quality of synthetic rubber is exceptional with reflective yellow markings for enhanced safety. Each piece is well-finished and fits perfectly for corner protection.


Hassan Jamil
From Integra Technologies Ltd on 5th Sep, 2022Premium Rubber Wall Corner Guards installed at Integra Technologies Ltd., North Badda. Durable synthetic rubber, clear yellow reflectors, and elegant finish for long-term protection. Ref. NI/QT2950 (5-Sep-2022).
Submit your review
Your email address will not be published. Required fields are markedAdd Images & Videos to your review
Allowed file types: jpg, gif, png,mp4,avi max total size of files: 100MB, max number of files: 8!
Customer Submitted Photos & Videos


